Physical Address
304 North Cardinal St.
Dorchester Center, MA 02124
Physical Address
304 North Cardinal St.
Dorchester Center, MA 02124
Cutting backpack weight dramatically improves your hiking experience, and you can achieve surprising results without expensive ultralight gear purchases.
You’ve probably heard that every ounce counts on the trail, but is shaving weight really worth the effort and expense? The truth is, reducing your pack weight by even a few pounds can transform your hiking experience from a grueling slog into an enjoyable adventure. However, you don’t need to break the bank buying the latest ultralight gear to see dramatic results. There’s a strategic approach to weight reduction that’ll surprise you with how much you can accomplish using what you already own.
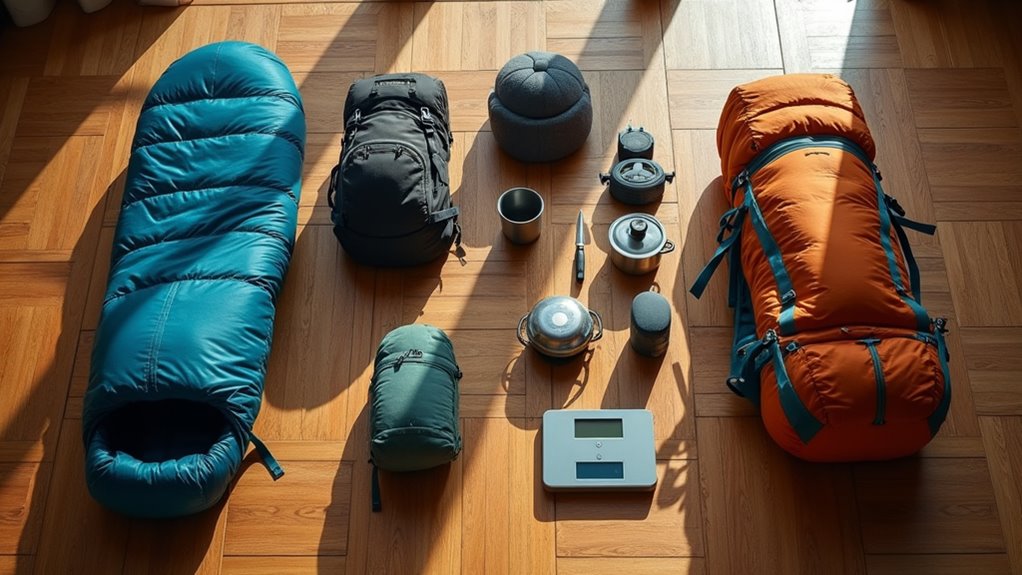
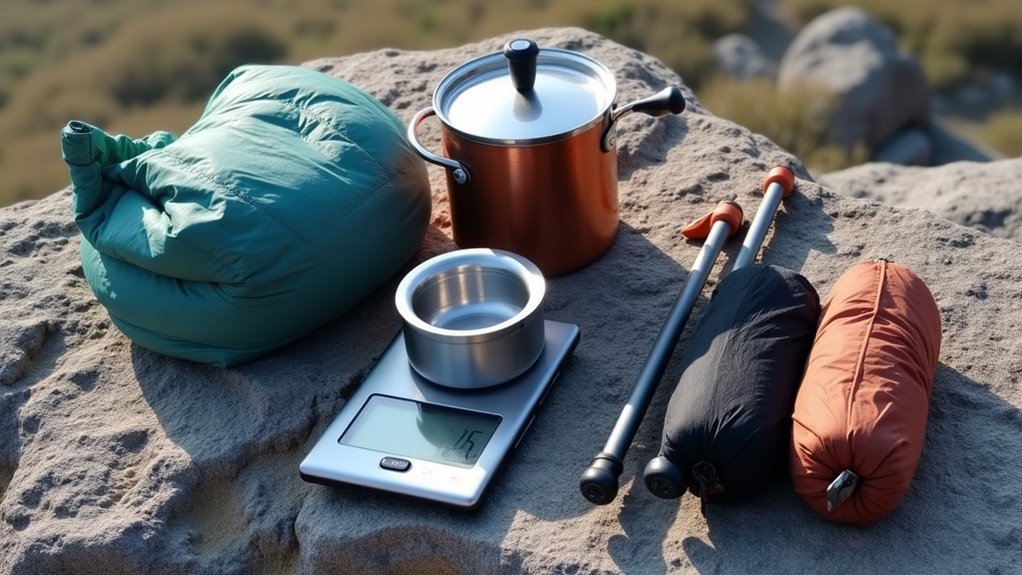
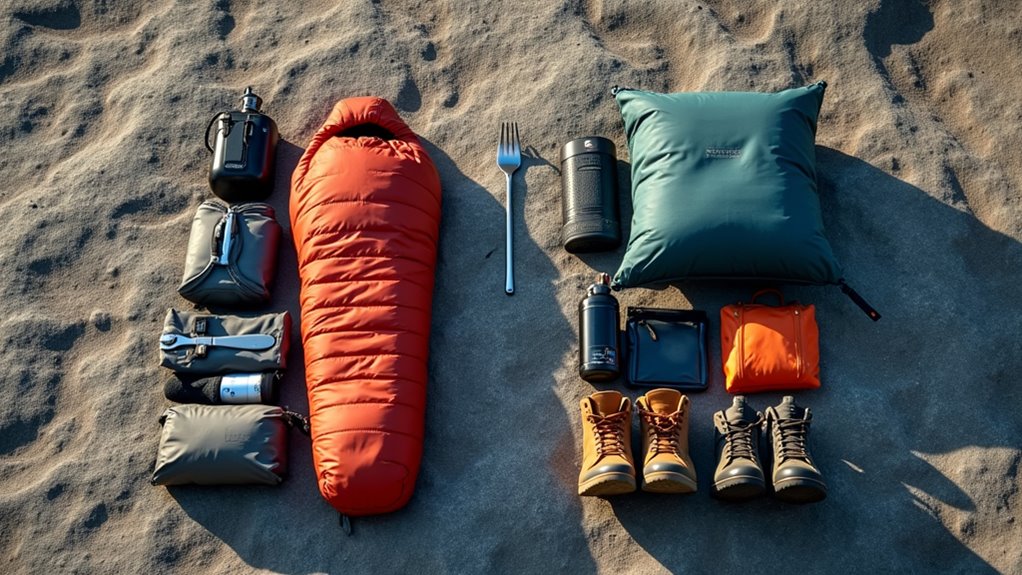
Before you can trim ounces from your pack, you’ll need to know exactly what you’re carrying and how much each item weighs. Start by laying out all your gear and weighing each piece using a digital kitchen scale. Create a simple spreadsheet listing every item with its weight in ounces – this gives you a clear baseline.
Focus on identifying your heaviest items first, as these offer the biggest weight-saving opportunities. Your “Big Four” – backpack, shelter, sleeping bag, and sleeping pad – typically account for most of your pack weight. Don’t overlook smaller items that add up quickly, like toiletries, electronics, or extra clothing.
Once you’ve documented everything, you can make informed decisions about what to replace, modify, or leave behind entirely. If you’re planning vegan-friendly camping adventures, you’ll also want to carefully weigh your plant-based food options to ensure you’re not carrying unnecessary bulk while maintaining proper nutrition on the trail.
Your shelter typically ranks as one of your heaviest pieces of gear, making it a prime target for weight reduction. Consider switching from a traditional tent to a lightweight backpacking tent that weighs under three pounds. Look for single-wall designs or ultralight double-wall options that use high-quality materials like Dyneema or silnylon.
Don’t overlook alternative shelters like tarp tents, which offer excellent protection while cutting significant weight. You’ll save money and ounces by choosing a simple A-frame tarp with trekking poles for setup instead of carrying dedicated tent poles.
For budget-friendly options, consider used gear or last season’s models. Test any new shelter system in your backyard first to ensure it provides adequate weather protection for your specific hiking conditions. Remember that the best camping shelters must balance weather resistance with weight considerations to perform effectively across different conditions.
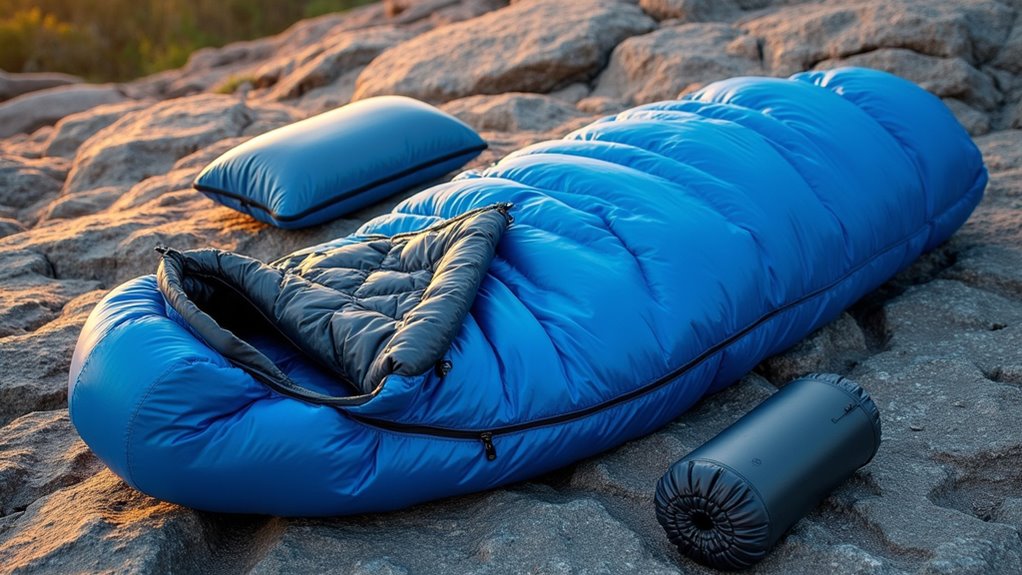
While shelter protects you from the elements, your sleep system determines whether you’ll stay warm and comfortable through the night without carrying unnecessary weight. Your sleeping bag should match expected temperatures without over-spec’ing—you’ll pay extra for warmth you don’t need.
Down bags offer superior warmth-to-weight ratios but lose insulation when wet, while synthetic fills perform better in damp conditions.
Choose sleeping pads wisely. Closed-cell foam pads weigh less but sacrifice comfort. Inflatable pads provide better insulation and cushioning while remaining relatively light. Look for higher R-values in colder conditions.
Skip the pillow and stuff clothes into your sleeping bag’s stuff sack instead. Consider a quilt rather than a traditional sleeping bag—they’re lighter since they eliminate the compressed insulation beneath you that provides minimal warmth anyway.
Understanding the different sleeping bag types available helps you select the most weight-efficient option for your specific camping conditions and climate requirements.
Since clothing often represents one of the heaviest categories in your pack, choosing versatile pieces that serve multiple functions will dramatically cut weight while saving money. You’ll want synthetic or merino wool shirts that work as base layers and standalone tops. Skip cotton entirely—it’s heavy when wet and takes forever to dry.
Choose hiking pants that double as camp wear instead of packing separate loungewear. Your rain jacket can serve as wind protection and an extra insulation layer. Pack one pair of hiking socks and one backup pair rather than daily changes.
Build your system around three layers: base layer for moisture management, insulating layer for warmth, and shell layer for weather protection. This approach eliminates redundant pieces while keeping you comfortable. Consider investing in ultralight gear alternatives that maintain functionality while significantly reducing the overall weight of your clothing system.
After clothing, your cooking setup and food likely comprise the next heaviest category in your pack, but smart choices here can shave off several pounds without sacrificing nutrition or hot meals.
Ditch heavy pots for lightweight titanium or aluminum options. A simple canister stove weighs less than liquid fuel systems and requires no priming. Consider a spork instead of separate utensils, and skip plates entirely—eat straight from your pot.
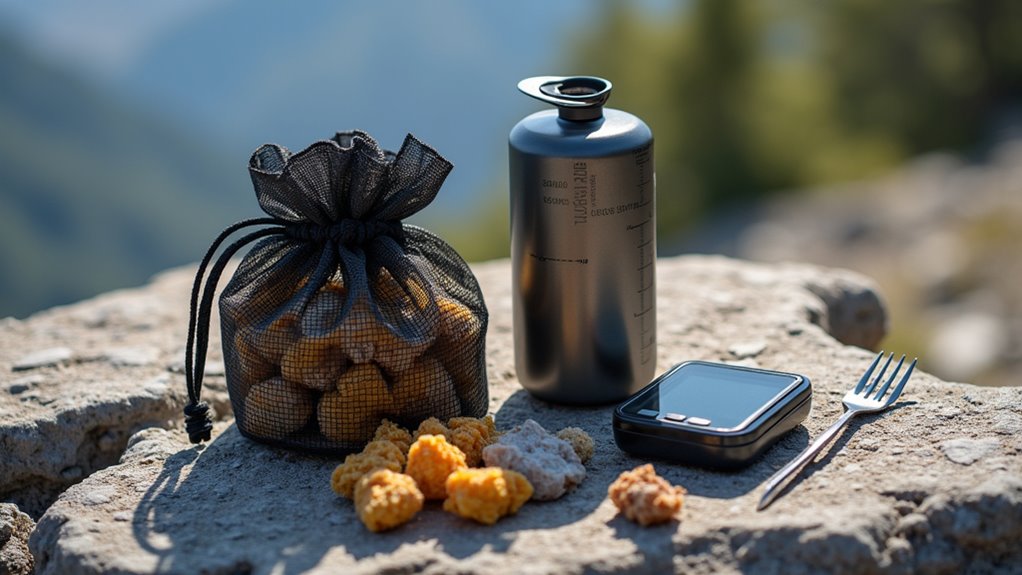
Remove all food from original packaging and repack into lightweight ziplock bags or containers. Pre-measure ingredients and eliminate excess air. Choose calorie-dense foods like nuts, dried fruits, and dehydrated meals that pack more energy per ounce.
If you’re bringing your four-legged companion, remember that camping equipment for dogs adds extra weight considerations to your pack planning.
You’ll trim 2-3 pounds easily while maintaining satisfying meals on the trail.
Water ranks among your pack’s heaviest items at over two pounds per liter, but you don’t need to carry days’ worth if you plan your route strategically. Research water sources along your trail using apps like Guthook or trail guides. Carry just enough water to reach your next reliable source, plus a small safety margin.
Invest in lightweight purification methods like water purification tablets ($10-15) or a compact UV sterilizer instead of heavy pump filters. These weigh ounces versus pounds. Consider a collapsible water container for camp use while keeping one lightweight bottle for hiking.
Time your water collection strategically—fill up at reliable morning sources rather than carrying extra overnight. This simple planning can eliminate 2-4 pounds from your pack. When camping in regions like the Himalayas, proper water planning becomes even more critical for both weight management and wild animal safety considerations.
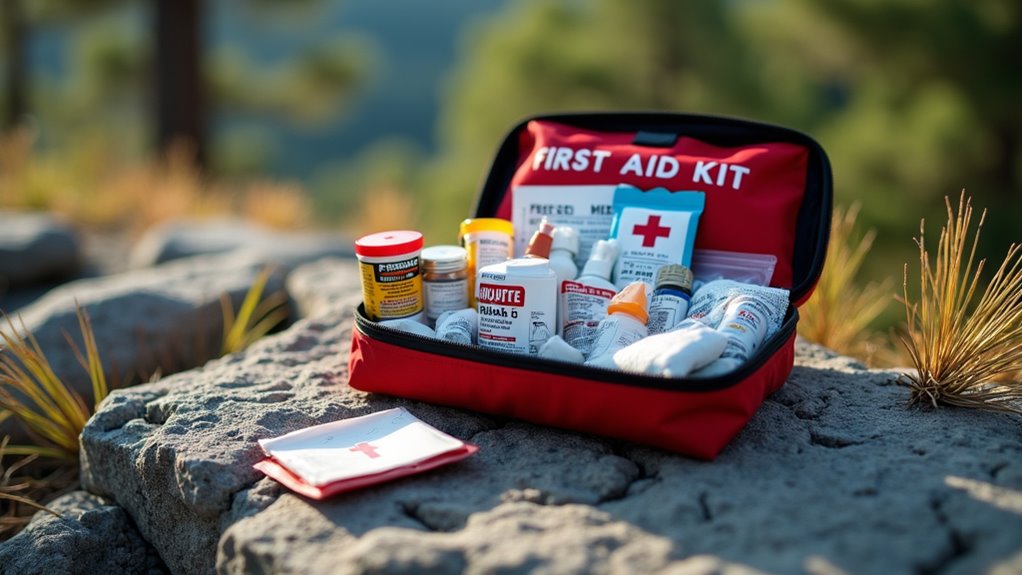
While most pre-made first aid kits contain supplies you’ll never use on the trail, building your own targeted kit can save significant weight and money. Focus on treating common backpacking injuries: blisters, cuts, sprains, and headaches.
Essential lightweight items include blister patches, a few adhesive bandages, ibuprofen, and medical tape. Skip bulky items like instant cold packs and excessive gauze.
Instead, pack duct tape (which doubles as medical tape) and consider multipurpose items like bandanas for wound cleaning or slings.
Repackage medications into smaller containers and bring only what you need for your trip duration. Remove unnecessary packaging and instruction sheets.
Your streamlined kit should weigh under four ounces while covering the most likely trail scenarios you’ll encounter. Remember that having the right first aid items can make the difference between a minor inconvenience and a trip-ending emergency.
Just as you streamlined your medical supplies, your tool selection deserves the same weight-cutting scrutiny. Ditch single-purpose tools for versatile alternatives that’ll serve multiple functions without breaking your budget.
Swap your heavy knife for a lightweight multi-tool with scissors, blade, and pliers. Replace separate tent stakes with titanium versions that double as emergency repair tools. Choose trekking poles that convert into tent poles, eliminating redundant gear.
Consider a spork instead of separate eating utensils, and pack dental floss that works for repairs, fishing line, or cutting cheese.
Your smartphone replaces maps, compass, camera, and entertainment devices.
Every tool should earn its weight by serving at least two purposes. This approach cuts pounds while maintaining functionality—your back and wallet will thank you. When selecting gear, learn from seasoned travelers who avoid common buying mistakes by researching thoroughly before making purchases.
After scrutinizing your tools, it’s time to tackle the comfort items that seem essential at home but become dead weight on the trail. You don’t need three pairs of socks when two will suffice. Ditch the camp pillow—stuff your clothes in a pillowcase instead. That heavy camp chair? Your backpack works fine as a backrest.
Question every duplicate: two knives, multiple fire starters, or backup headlamps you’ll likely never use. Skip the camp towel—a bandana dries you off and serves multiple purposes. Leave the portable speaker, thick book, and camp shower behind.
Ask yourself: “Will I absolutely need this, or do I just want it?” If you hesitate, leave it home. Every ounce counts when you’re climbing mountains. Remember that lightening your gear makes every step on the trail significantly easier and more enjoyable.
Once you’ve eliminated the obvious weight culprits, shift your mindset to treating every single ounce as precious cargo. Start scrutinizing seemingly minor items that add up quickly. Choose a titanium spork over stainless steel to save two ounces. Replace your heavy headlamp with a lightweight model. Cut tags off clothing and trim your toothbrush handle.
This mentality transforms how you evaluate gear upgrades. Instead of dismissing a $50 tent stake set that saves four ounces, calculate the cost per ounce saved. Sometimes paying more for ultralight versions makes sense when you’re carrying weight for days.
Every decision becomes a weight calculation. When selecting your hiking bag essentials, prioritize multi-purpose items that serve several functions while maintaining minimal weight. Your pack’s total weight is simply the sum of hundreds of individual choices—make each one count.
You’ve got the tools to transform your pack from a burdensome beast into a sleek hiking companion. Like a sculptor chiseling away excess stone, you’ll systematically eliminate every unnecessary ounce through smart gear choices and ruthless prioritization. Don’t feel pressured to replace everything at once—tackle one category at a time as your budget allows. Remember, every ounce you shed makes those long trail days more enjoyable and your adventures more memorable.