Physical Address
304 North Cardinal St.
Dorchester Center, MA 02124
Physical Address
304 North Cardinal St.
Dorchester Center, MA 02124
Camping gear scattered everywhere and time running out—master these essential packing strategies before you damage your equipment or leave traces behind.
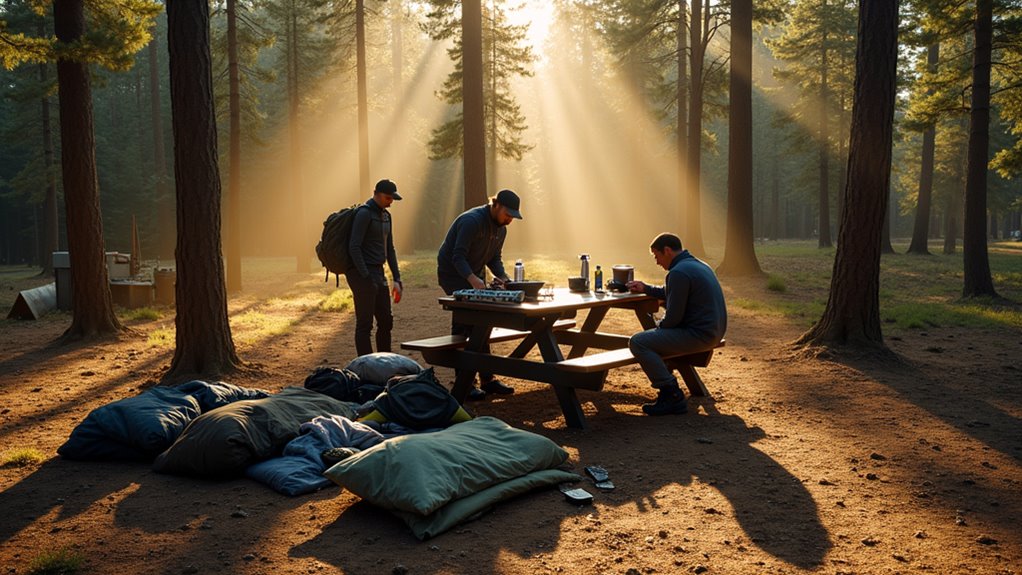
You’ve had an amazing time in the wilderness, but now you’re facing the reality of breaking camp and heading home. Packing up after a camping trip isn’t just about stuffing everything into your bags—it’s about doing it right so you don’t damage your gear, harm the environment, or forget something important behind. The way you handle this final phase will determine whether your equipment stays in good shape and whether you’ll be welcomed back to that pristine campsite again.
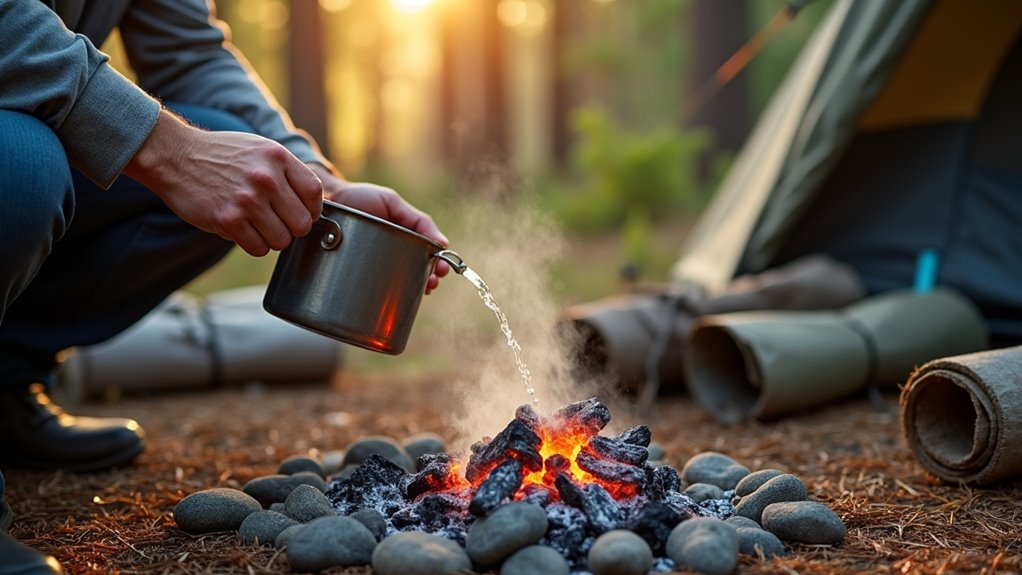
Before you even think about packing your gear, you’ll need to completely extinguish your campfire—it’s the most critical safety step of your entire trip. Start by allowing wood to burn down to ash.
Extinguishing your campfire completely isn’t just good practice—it’s the single most important safety measure of your entire camping experience.
Pour water slowly over the embers, stirring with a shovel or stick. You’ll hear hissing and see steam—that’s normal. Add more water and continue stirring until the hissing stops completely.
Feel around the fire pit with the back of your hand, keeping it several inches away from the surface. If you detect any heat, add more water and stir again.
The ashes should be cold to the touch before you move on. Never bury hot coals or leave them unattended, even briefly.
Following these fire safety protocols will help ensure your camping adventure ends on a positive note and protects the environment for future campers.
Once your campfire is completely extinguished and cold, you’ll need to restore your campsite to its natural state. The Leave No Trace principle guarantees future campers can enjoy pristine wilderness areas.
Here’s your cleanup checklist:
Walk through your campsite systematically, checking every corner. You should leave the area looking untouched, as if no one had ever camped there. Just like deciding whether to rent or buy used boats for water activities, consider the environmental impact of your choices and select options that minimize your footprint on natural spaces.
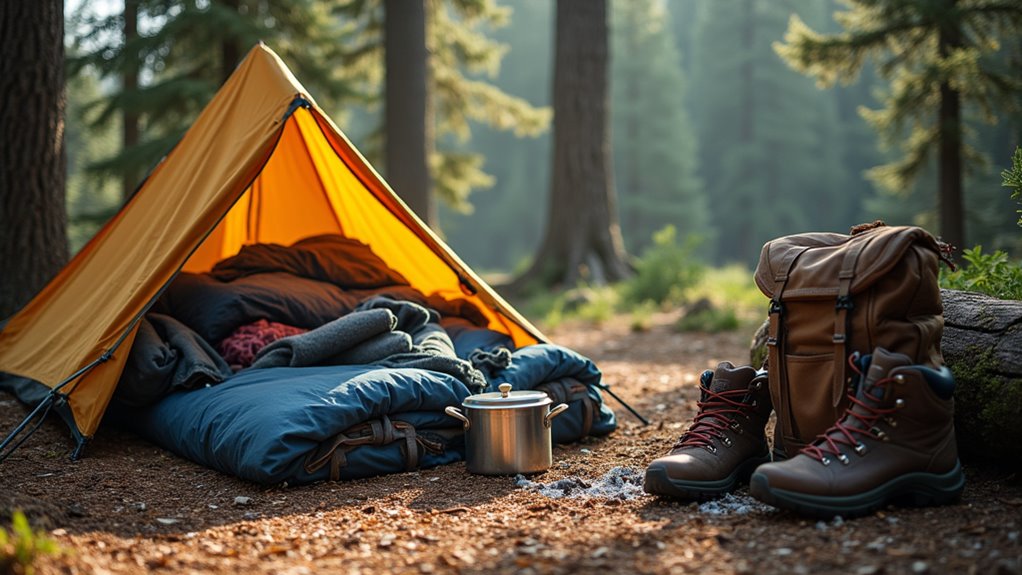
After completing your campsite cleanup, you’ll want to tackle your tent while conditions are still favorable. Start by removing all gear from inside, including sleeping bags and personal items. Shake out any debris from the tent floor.
Next, disconnect the rainfly if you’re using one. Remove tent stakes by pulling straight up, not at angles that might bend them. Collapse the tent poles carefully – most pop apart when you push the sections together rather than pulling them apart.
Lay your tent flat and brush off any dirt or moisture. Fold it according to manufacturer instructions, typically starting from the opposite end of the door. Roll tightly to minimize pack size.
Store poles and stakes in their designated bags, ensuring everything’s accounted for before moving on. Proper tent maintenance during this breakdown process will extend your tent’s lifespan and keep it ready for your next outdoor adventure.
With your shelter packed away, it’s time to address your cooking area and get those dishes clean. Proper kitchen cleanup prevents attracting wildlife and keeps your gear in good condition for future trips.
A thorough kitchen cleanup protects both your gear and the wilderness while preventing unwanted animal visitors at your campsite.
Start by scraping all food scraps into your trash bag – never leave them at the campsite. Here’s your cleanup process:
Store your clean, dry cookware in designated bags or containers. Keep your camp stove and fuel separate from food items for safety during transport home. Before you finish packing, double-check that you’re not accidentally taking home any items to leave behind at your campsite.
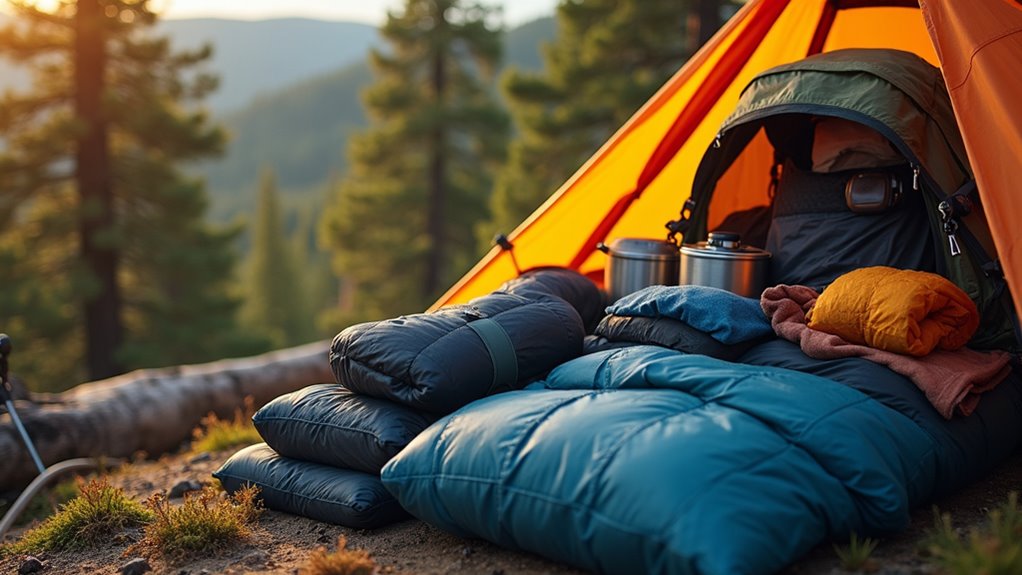
Now that your cooking area is spotless and your gear is clean, you’ll need to pack your backpack strategically to distribute weight properly and keep essential items accessible.
Place heavy items like cooking gear and water bottles close to your back and centered vertically. This keeps your center of gravity stable and reduces strain on your shoulders.
Pack sleeping bags and clothes at the bottom, followed by your heaviest gear in the middle section. Store frequently needed items like snacks, maps, and first aid supplies in exterior pockets or the top compartment for easy access.
Roll clothes tightly instead of folding them to maximize space. Fill gaps with smaller items like socks or toiletries.
Keep your rain gear accessible since weather can change quickly on the trail home.
Before you start packing, consider what camping style worked best for you during this trip to help inform your gear choices for future adventures.
Before you leave your campsite, conduct a systematic sweep to locate any gear you might’ve accidentally left behind. It’s surprisingly easy to overlook items when you’re enthusiastic to head home after an amazing outdoor adventure.
Follow this thorough checking routine:
If you’re planning an RV vacation, don’t forget to check storage compartments and slide-out areas where items can easily be overlooked during the packing process.
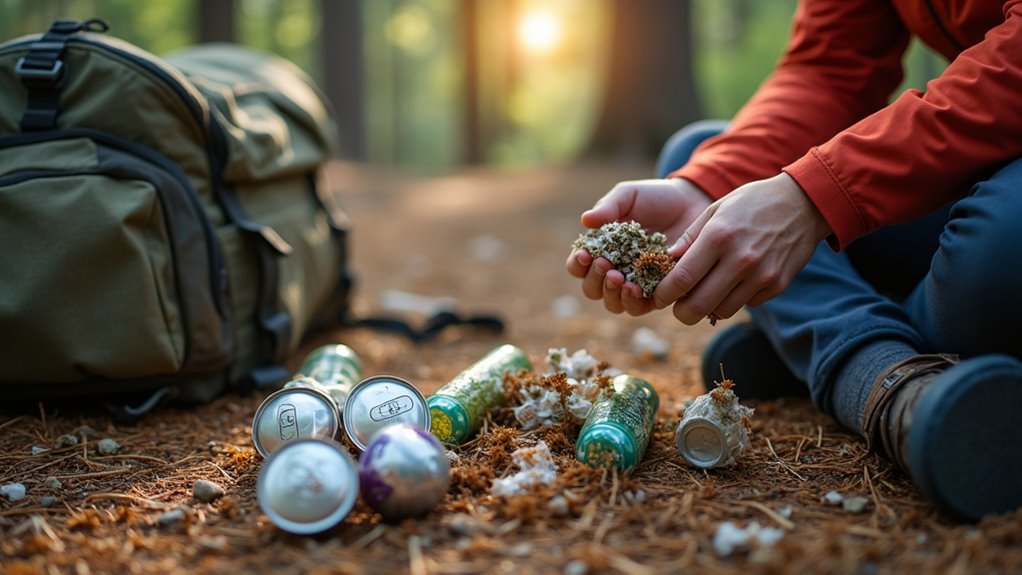
After confirming you’ve collected all your gear, you’ll need to address the trash and waste you’ve generated during your stay. Pack out everything you brought in – that’s the golden rule of responsible camping.
Separate recyclables from regular trash if your destination has recycling facilities. Don’t burn plastic, foil, or food packaging in campfires, as these materials release toxic fumes and leave harmful residue.
Check around your campsite for micro-trash like bottle caps, food wrappers, and cigarette butts that easily get overlooked. Even biodegradable items like banana peels and apple cores should be packed out, since they can take months to decompose and attract wildlife.
Leave your campsite cleaner than you found it – future campers will appreciate your consideration.
When rain or morning dew leaves your gear soaking wet, you’ll face some important decisions about how to pack everything safely. Wet equipment can develop mold, mildew, and permanent damage if you’re not careful.
Here’s how to handle damp gear properly:
Don’t let soggy gear ruin your investment. Take time to dry everything thoroughly within 48 hours to prevent lasting damage. Plus, when packing up wet gear, be extra vigilant about checking for tick bites since moisture creates ideal conditions for these parasites to thrive in your equipment.
Once you’ve packed your final item, resist the urge to drive away immediately. A thorough campsite inspection prevents forgotten gear and environmental damage. Walk the entire area systematically, checking tent spots, cooking areas, and seating zones.
Look for small items like tent stakes, utensils, or personal belongings that easily blend into natural surroundings.
Examine fire rings carefully—embers can hide beneath ash for hours. Pour water over cold ashes and stir to ensure complete extinguishment.
Check trees and rocks where you might’ve hung items or set things temporarily.
Pack out all trash, including food scraps and micro-litter like bottle caps or wrapper pieces. Leave your campsite better than you found it.
This final walkthrough takes five minutes but saves hours of frustration later when you realize what’s missing. Don’t forget to gather any camping activities supplies or equipment you used during your stay, as these items are often scattered around the campsite after a fun-filled trip.
While your camping adventure ends when you arrive home, proper gear maintenance begins the moment you unpack your vehicle. Don’t let post-trip fatigue tempt you into shoving everything into storage – you’ll regret it later.
Your gear deserves attention after working hard in the wilderness:
Taking thirty minutes now saves hours of frustration and replacement costs down the road. Even if your trip ended with unexpected challenges, proper post-trip care ensures your gear remains ready for handling camping mishaps on future adventures.
You might think proper packing takes too much time, but imagine returning home to moldy gear and a hefty replacement bill. Picture yourself confidently heading out on your next adventure with clean, organized equipment that’s ready to go. By following these packing steps, you’re not just being responsible—you’re investing in countless future camping memories. Your gear will thank you, the environment will benefit, and you’ll camp stress-free knowing everything’s properly maintained.