Physical Address
304 North Cardinal St.
Dorchester Center, MA 02124
Physical Address
304 North Cardinal St.
Dorchester Center, MA 02124
Winter water treatment in backcountry camping requires specific techniques to prevent freezing and ensure safety—but one critical mistake could prove deadly.
Imagine this: you’re three days into a backcountry ski trip when your water bottles freeze solid overnight, leaving you staring at chunks of ice instead of drinkable water. You’ve got plenty of snow around, but turning it into safe drinking water isn’t as simple as just melting and sipping. Winter water treatment requires specific techniques and equipment choices that’ll keep you hydrated and healthy when temperatures drop below freezing—and making the wrong move could leave you dangerously dehydrated.
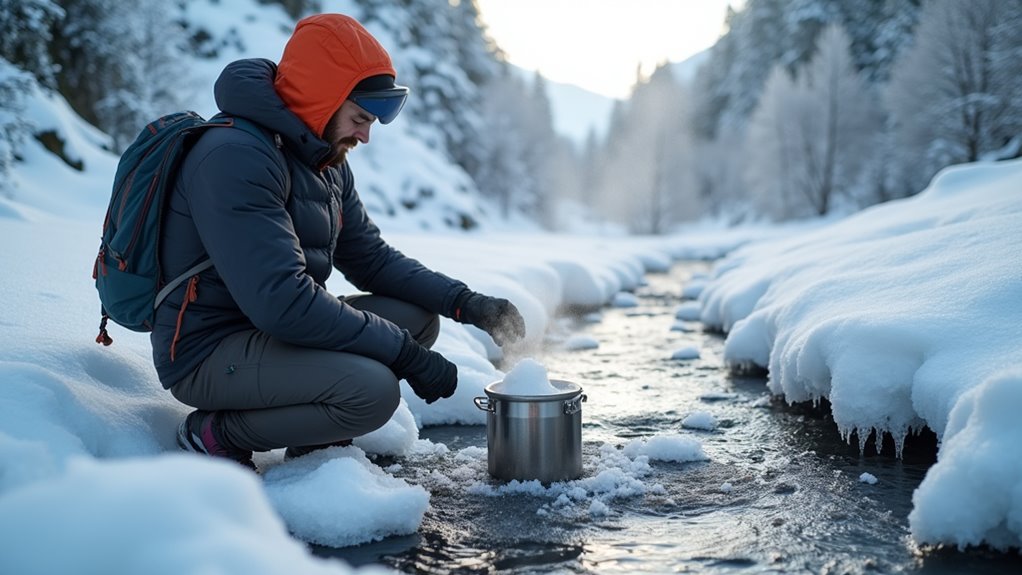
When you’re camping in winter, you’ll quickly discover that finding liquid water becomes one of your biggest challenges. Your primary sources will be snow, ice, and whatever natural water bodies haven’t frozen solid.
Fresh, clean snow makes excellent water once melted, but you’ll need surprising amounts—it takes roughly 10 parts snow to yield 1 part water. Avoid discolored or dirty snow, and never eat it directly as this wastes precious body heat.
Ice from frozen streams or lakes often provides more water per volume than snow. Look for clear, solid ice rather than cloudy formations that might contain air bubbles or impurities.
Running water from streams or springs offers your best option when available, though it’s increasingly rare in harsh winter conditions. Modern water filtration systems have evolved significantly to handle the unique challenges of processing these winter water sources in extreme cold conditions.
Even though you’ve found water in winter conditions, you can’t assume it’s safe to drink without proper treatment. Cold temperatures don’t eliminate harmful bacteria, viruses, or parasites that can make you seriously ill.
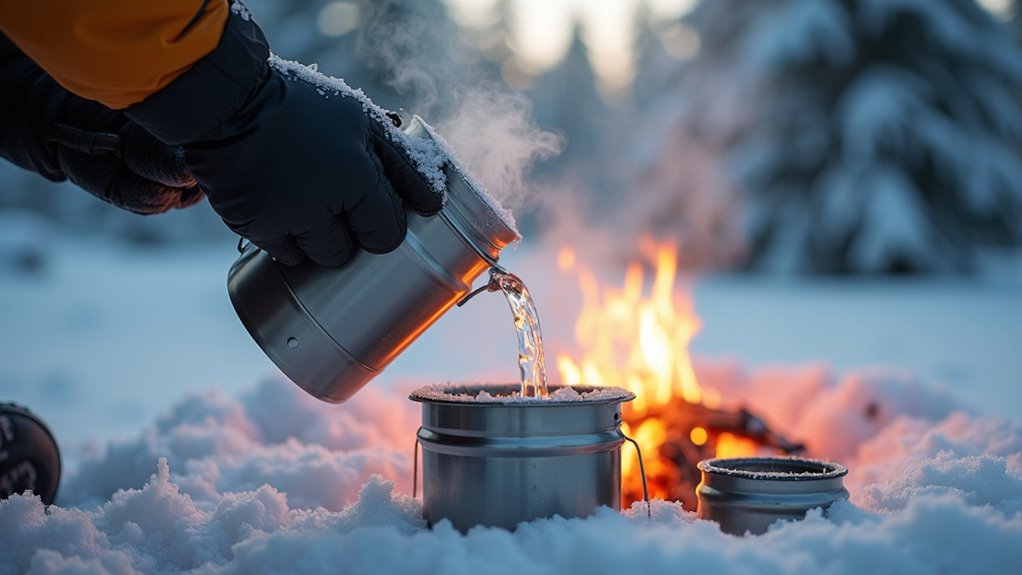
Boiling remains your most reliable purification method. Bring water to a rolling boil for at least one minute, or three minutes above 6,500 feet elevation.
Water purification tablets work effectively in cold weather, though they’ll take longer to activate—keep them warm in your jacket pocket.
Portable water filters handle bacteria and protozoa but won’t eliminate viruses.
UV sterilizers can fail in freezing temperatures, so they’re less dependable.
Always carry backup purification methods since equipment can malfunction in harsh winter conditions. A quality camping water filter provides an essential layer of protection when other purification methods may be compromised by extreme cold.
After you’ve purified your water, keeping it liquid becomes your next critical challenge. Frozen water won’t hydrate you or help with cooking, so you’ll need smart strategies to maintain liquid water throughout your winter adventure.
Here are four proven methods to prevent water from freezing:
These techniques guarantee you’ll have accessible water when you need it most.
If you’re planning multiple winter adventures, consider whether renting or buying specialized winter water containers makes more financial sense for your long-term camping goals.
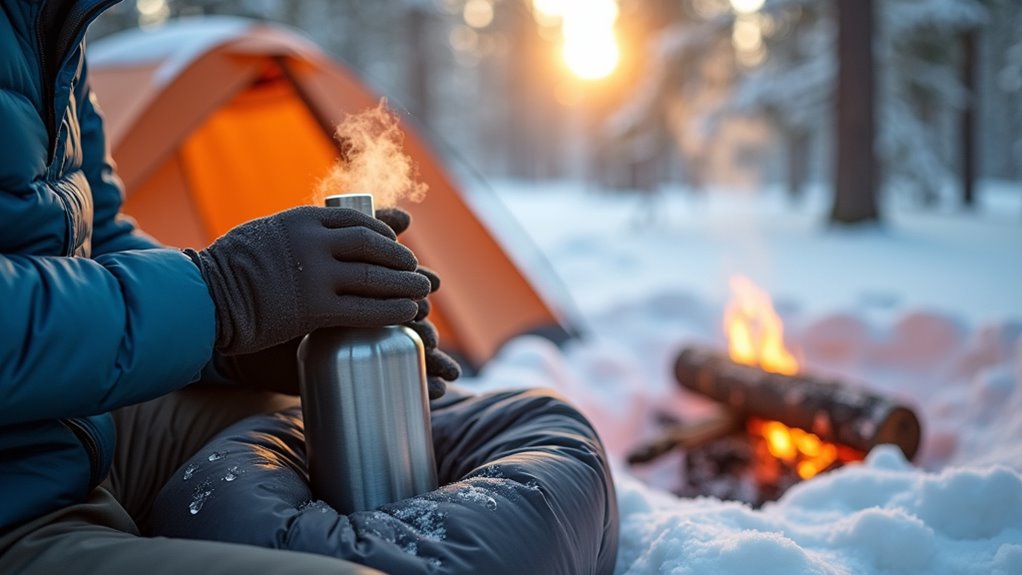
While standard water treatment gear works in mild conditions, winter camping demands specialized equipment that won’t fail when temperatures plummet. You’ll need insulated water bottles or thermoses to keep treated water from refreezing immediately.
Pack backup purification tablets since filters can crack in extreme cold. Consider a lightweight camping stove for melting snow—it’s often your primary water source.
Don’t forget spare batteries for UV sterilizers, as cold drains power quickly. A collapsible silicone container works better than rigid plastic that becomes brittle.
Keep your gear close to your body or sleeping bag overnight to prevent freezing. Include a small funnel for easier pouring and a lightweight mesh strainer to remove debris from melted snow before treatment.
Redundancy saves lives in winter conditions. When staying in self-contained camping trailers, you’ll have the advantage of onboard water storage systems that provide better protection against freezing compared to external gear.
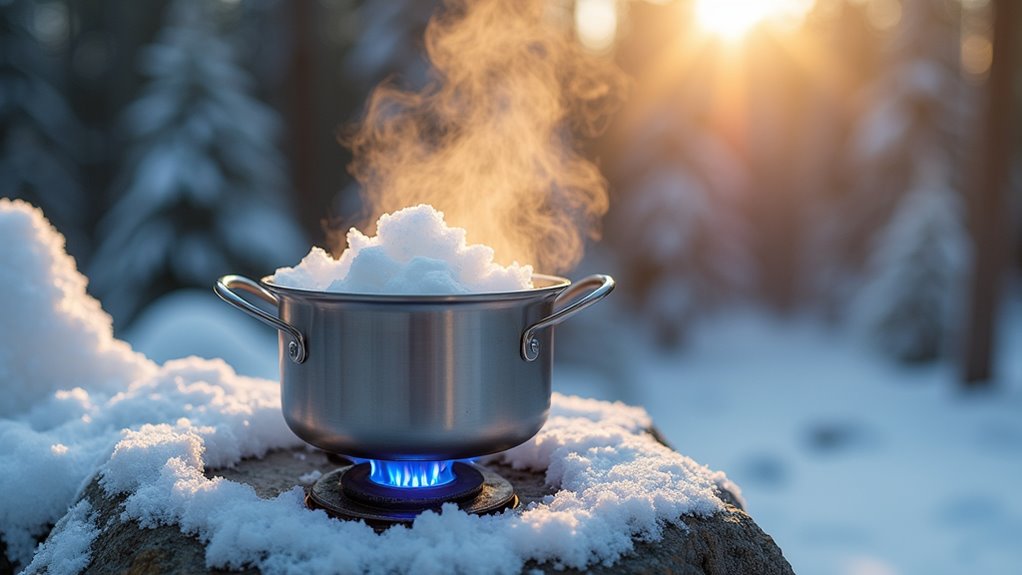
When you’re melting snow for drinking water, you’ll want to start with clean, white snow from areas away from trails, campsites, and anywhere animals might’ve been. Fresh powder works best since it’s cleaner and melts more efficiently than older, compacted snow.
Here’s your step-by-step melting process:
After you’ve melted enough water for drinking, consider using some of it for camping showers to maintain hygiene during extended winter trips.
Once you’ve melted and treated your snow or ice, keeping that water liquid becomes your next challenge in freezing temperatures. Your best defense is insulation—wrap your water bottles in extra clothing or sleeping bag stuff sacks. Store bottles upside down since water freezes from the top, and you’ll still access liquid water even if the top layer ices over.
Keep one bottle inside your sleeping bag overnight for morning hydration. Wide-mouth containers work better than narrow ones because they’re easier to drink from when partially frozen. Consider adding a pinch of salt to lower the freezing point slightly.
During the day, keep bottles close to your body or in insulated pockets. Never store water in your tent’s outer vestibule where temperatures match the brutal outside air. If you’re using a motorhome for winter camping, take advantage of its insulated interior compartments to store your treated water safely away from freezing temperatures.
You’re standing at winter’s edge, knowing that one mistake with water treatment could turn your adventure into survival. But you’ve got this—you understand the sources, you’ve mastered the purification methods, and you know how to keep water from freezing solid. The wilderness doesn’t have to defeat you. With proper preparation and the right techniques, you’ll stay hydrated and safe, no matter how brutal the cold becomes. Your winter camping success depends on it.