Physical Address
304 North Cardinal St.
Dorchester Center, MA 02124
Physical Address
304 North Cardinal St.
Dorchester Center, MA 02124
Before you clip into your next route, discover the 12 crucial climbing techniques that prevent most accidents—secrets every climber wishes they'd learned sooner.
You probably don’t realize that most climbing accidents happen during routine procedures, not dramatic falls. The difference between a memorable adventure and a rescue helicopter often comes down to twelve critical techniques that seasoned climbers treat as second nature. These aren’t advanced skills reserved for elite athletes—they’re fundamental practices that’ll keep you safe whether you’re tackling your first outdoor route or your hundredth. Master these essentials, and you’ll climb with the confidence that comes from proper preparation.
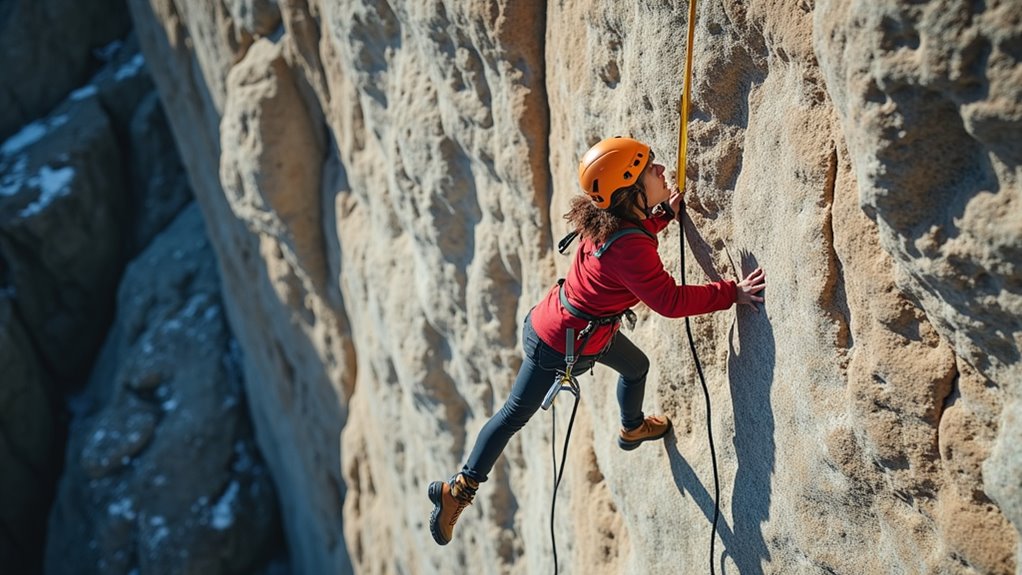
When you’re climbing with a partner, clear communication can literally mean the difference between a safe ascent and a dangerous fall. You’ll need to master standard climbing commands that every climber understands.
Before starting, establish who’s calling the shots and confirm you’re both using the same terminology.
Before you touch the rock, designate your leader and verify you’re speaking the same climbing language.
Essential commands include “On belay?” to verify your belayer’s ready, followed by their “Belay on” response. Call “Climbing” before you start, and listen for “Climb on.”
When you need slack, shout “Slack,” and for tension, yell “Take.” Use “Falling” if you’re about to drop.
Always speak loudly and clearly—wind and distance can muffle your voice. Practice these commands until they’re automatic.
Consistent communication builds trust and prevents miscommunication that could lead to serious accidents. Many camping enthusiasts find that combining rock climbing with their outdoor adventures creates an exciting multi-sport experience that enhances their connection with nature.
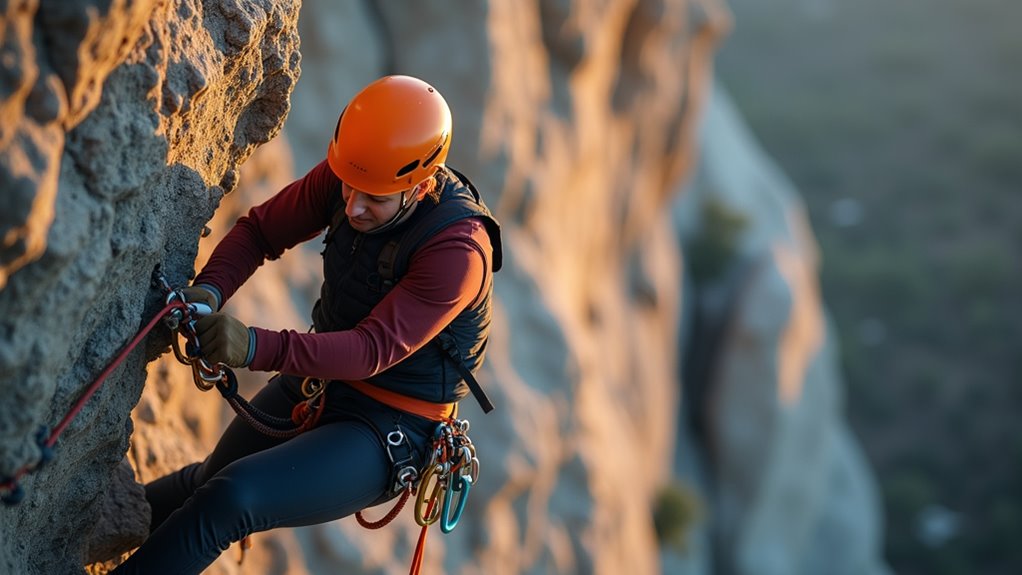
Building bombproof anchors requires more than just clipping into the nearest bolt—you’ll need to understand and apply the SERENE principle to create anchor systems that won’t fail when your life depends on them.
SERENE stands for Solid, Equalized, Redundant, Efficient, No Extension.
Start with solid anchor points that won’t pull out under load.
Equalize forces across multiple points using cordelette or slings.
Build redundancy so if one piece fails, others hold.
Keep your system efficient—complex setups invite mistakes.
Prevent extension that creates shock-loading if a piece fails.
Practice these principles until they’re second nature.
Your anchor’s only as strong as its weakest component, so don’t compromise.
After mastering these techniques on rock, consider applying similar safety principles to water activities where proper anchoring and safety systems are equally crucial for adventure sports.
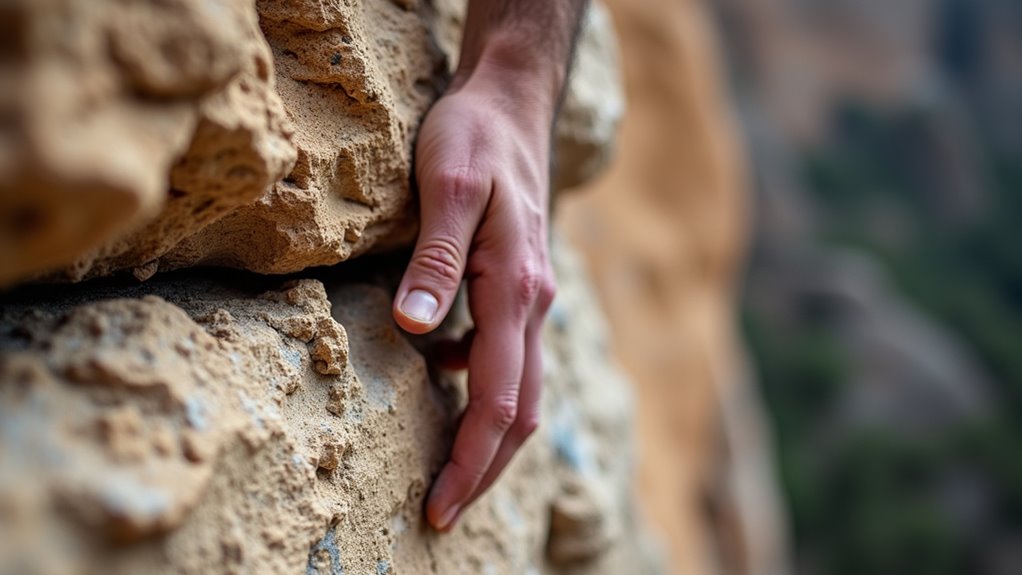
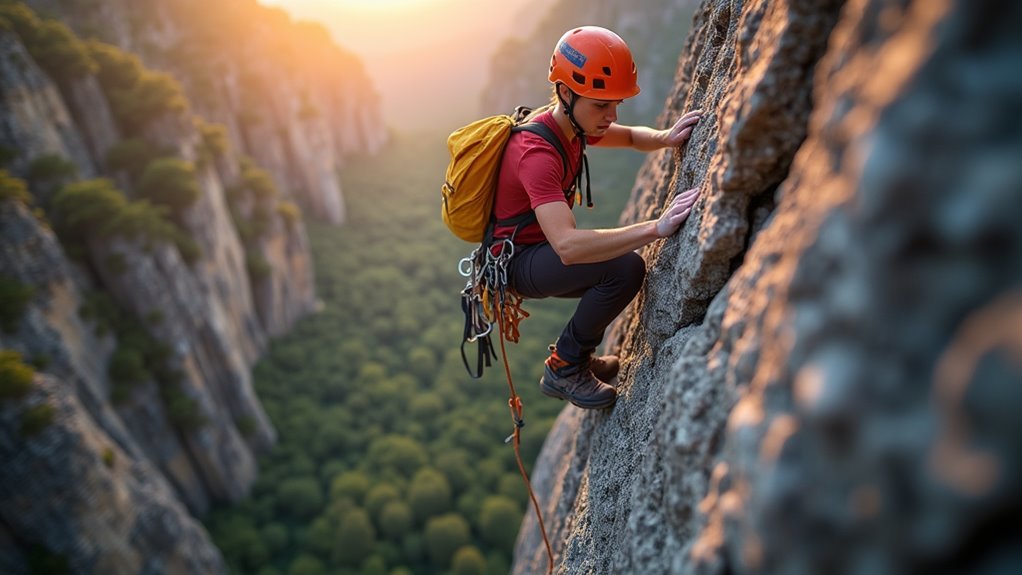
How can you tell if the rock beneath your hands will hold your weight or crumble into dust? Recognizing dangerous rock quality can save your life. Before you commit to any hold, test it first. Tap the rock with your knuckles – solid rock produces a sharp, clear sound while loose rock sounds hollow or dull.
Test every hold before trusting it with your life – solid rock rings clear, loose rock sounds hollow when tapped.
Watch for these warning signs of unstable rock:
Don’t ignore your instincts. If something feels wrong, find an alternative path rather than risking a dangerous hold. Just like deciding whether to rent or buy a boat for fishing, choosing the right climbing route requires careful consideration of your experience level and the conditions you’ll face.
Even with careful rock assessment and proper planning, emergencies can happen on the wall. You’ll want self-rescue skills mastered before you’re hanging from your gear in a real crisis.
Start by practicing basic techniques on the ground or low practice walls. Learn to prussik up a rope using friction hitches, escape the belay system, and transfer loads between anchor points.
Master rappelling from compromised positions and ascending fixed lines with mechanical devices.
Practice these skills regularly until they’re second nature. You can’t afford to fumble with knots or struggle with unfamiliar gear when your partner’s injured or weather turns dangerous.
Take a wilderness first aid course and carry a thorough rescue kit. Remember, self-reliance often determines whether climbing emergencies become minor inconveniences or life-threatening situations.
Developing these self-rescue capabilities is one of the most effective ways to prevent climbing injuries before they escalate into serious accidents.
When you place protection on a climb, the forces acting on your gear depend entirely on how the load gets applied. Dynamic loading occurs when you fall and the rope stretches, gradually absorbing energy and reducing peak forces on your protection.
Static loading happens when weight gets applied slowly without energy absorption, creating sustained stress on gear placements.
Understanding this difference is essential for your safety. Dynamic loads typically generate 2-4 times your body weight, while static loads can exceed 10 times your weight if you’re supporting someone or rappelling with compromised gear.
Key factors affecting protection loading:
Just as climbers must maintain their gear in safe conditions, proper food storage during multi-day climbing expeditions prevents contamination that could compromise your strength and decision-making abilities on technical routes.
Your climbing gear serves as the critical link between you and safety, making regular inspection absolutely essential for preventing catastrophic failures. Check your gear before every climb, looking for frayed webbing, worn stitching, sharp edges, or damaged gates on carabiners.
Retire dynamic ropes after 5-10 years or sooner if they show core damage, excessive fuzziness, or feel stiff.
Replace harnesses when belay loops show wear or stitching deteriorates.
Inspect helmets for cracks after any significant impact.
Quick draws and slings should be retired when webbing fades, frays, or becomes stiff from dirt accumulation.
Keep detailed records of purchase dates and usage frequency.
When in doubt, don’t risk it—replace questionable gear immediately rather than gambling with your life.
Understanding the various climbing dangers you face helps reinforce why maintaining equipment in pristine condition is non-negotiable for your safety.
Understanding fall factors helps you make informed decisions about protection placement and climbing routes by quantifying the severity of potential falls.
You’ll calculate fall factor by dividing fall distance by rope length between belayer and climber. Higher numbers mean more dangerous falls.
Fall factor equals fall distance divided by available rope length—the higher the number, the more severe the consequences.
A fall factor of 2 represents the worst-case scenario, occurring when you fall twice the rope length available. You’re most vulnerable at the start of pitches before placing protection.
Even short falls can generate tremendous forces on your gear and body when fall factors exceed 1.
Key fall factor considerations:
Place protection early to reduce fall factors.
Consider rope stretch and dynamic properties in calculations.
Just as cyclists benefit from staying current with cycling gear innovations for safer rides, climbers should regularly update their equipment to ensure optimal protection and performance on the rock.
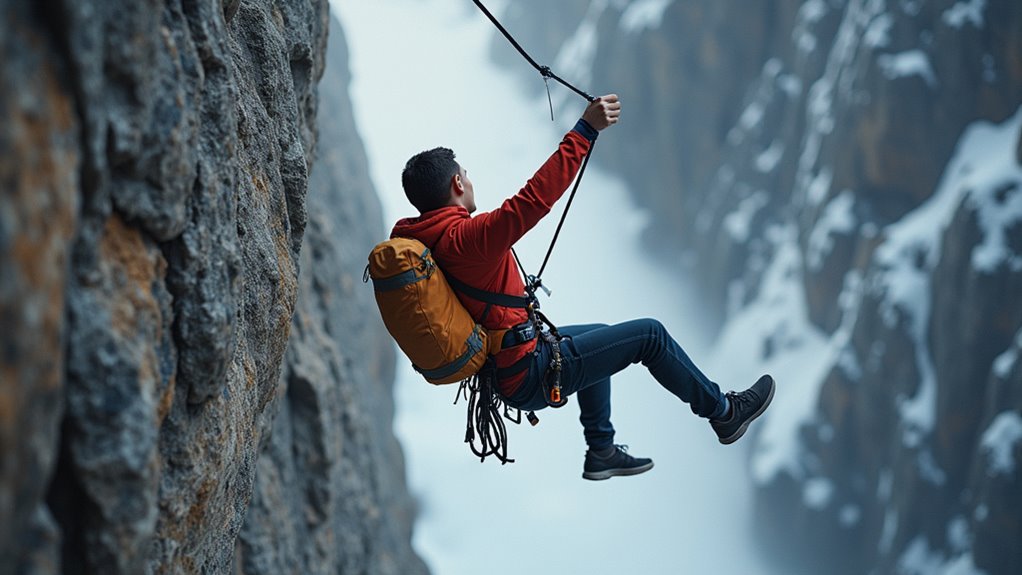
Beyond calculating risk through fall factors, proper body positioning during a fall can substantially reduce the forces transmitted through your protection system and minimize injury potential.
Keep your legs bent and ready to absorb impact against the rock face. Don’t grab the rope during a fall – this can cause rope burns or dislocate fingers. Instead, maintain an upright position with your feet toward the wall.
Push yourself away from the rock to avoid hitting ledges or protrusions. Relax your body rather than tensing up, as rigid muscles increase injury risk.
If you’re falling near your belayer, warn them by shouting “falling” so they can brace appropriately.
Practice controlled falls in safe environments to develop muscle memory for proper positioning techniques.
Plus, maintaining precise climbing footwork throughout your ascent helps prevent falls in the first place by ensuring better balance and control on the rock face.
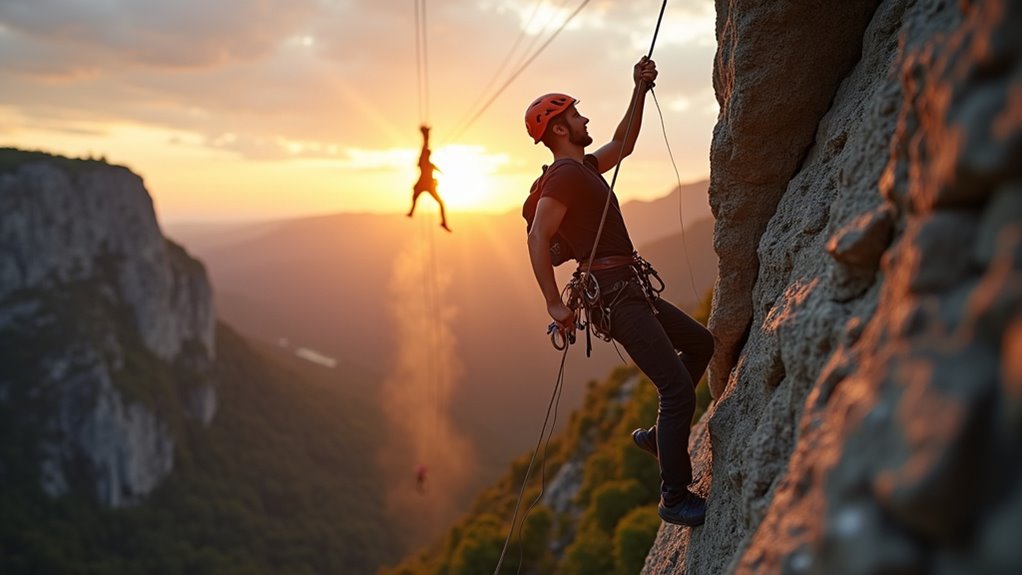
While ascending gets you up the route, rappelling safely brings you back down – and this descent phase demands just as much attention to detail as your climb.
You’ll need to master proper anchor setup, device threading, and backup systems to prevent potentially fatal mistakes.
Your rappelling safety checklist should include:
Never rush your rappel setup.
Take time to inspect every component, ensure your ropes reach the ground, and verify your backup systems function properly before committing to the descent.
Once you’ve mastered these fundamental rappelling skills, you can confidently explore some of the world’s most exciting climbing sites that offer spectacular multi-pitch descents.
How can you protect yourself from dangers you can’t control? Start by checking weather forecasts before climbing and watching for sudden changes. Storm clouds, lightning, and strong winds create deadly conditions that’ll force you off the wall quickly.
Rockfall poses another serious threat. Listen for the telltale sound of falling stones and shout “ROCK!” to warn others below. Avoid climbing directly under other parties, and don’t knock loose rocks yourself. Wear a helmet always – it’s your best defense against falling debris.
Choose your routes wisely. Avoid areas with loose rock, recent erosion, or active freeze-thaw cycles. Early morning climbs often mean more stable conditions before afternoon weather builds. Stay alert, trust your instincts, and don’t hesitate to retreat when conditions deteriorate.
When planning multi-day climbing expeditions, pack essential gear like a reliable basecamp kitchen to maintain proper nutrition and energy levels at your staging area.
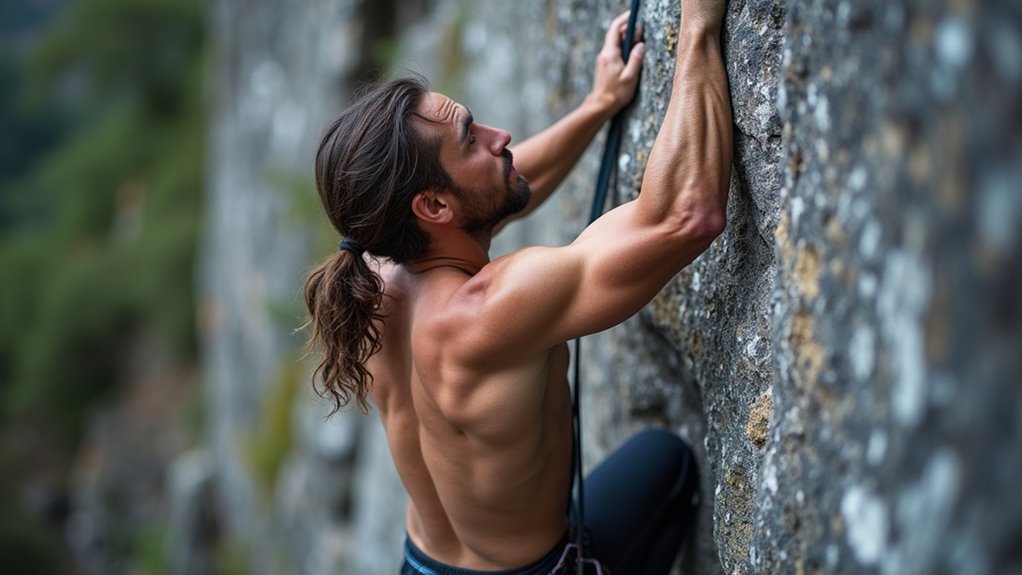
Even with perfect environmental awareness, poor movement technique will drain your energy and lead to dangerous mistakes. When you’re exhausted, you’ll make critical errors in judgment and lose your grip strength when you need it most.
Focus on climbing with your legs rather than pulling yourself up with your arms. Keep your body close to the rock and maintain three points of contact whenever possible. Plan your route before you start climbing to avoid getting stuck in awkward positions.
Essential movement principles include:
Consider practicing these techniques on beginner-friendly routes like those found in Santa Barbara hikes before attempting more challenging climbs.
Before you leave the ground, you need a solid plan for getting down safely and handling emergencies that could arise during your climb. Study your descent route thoroughly—whether rappelling, walking off, or downclimbing. Know where anchor points are located and test their reliability.
Carry essential emergency gear: headlamp, whistle, first aid supplies, and extra clothing. Share your climbing plan with someone reliable, including your expected return time.
Practice rescue techniques like self-rescue, assisted rappels, and basic first aid before you need them in a crisis.
Establish clear communication signals with your partner for emergencies. Know when to retreat—don’t let ego override safety.
Weather changes, equipment failure, or injury should trigger immediate escape protocols. Your backup plan could save your life.
You’ve absorbed the fundamentals, but here’s the reality—rock doesn’t forgive shortcuts. That next hold you’re eyeing might crumble. Your anchor could fail if you’ve rushed the setup. The storm clouds gathering overhead won’t wait for you to finish your route. Every technique you’ve learned becomes critical when gravity takes over and there’s nowhere to go but down. Practice these skills now, because when you need them most, there won’t be time to learn.