Physical Address
304 North Cardinal St.
Dorchester Center, MA 02124
Physical Address
304 North Cardinal St.
Dorchester Center, MA 02124
How to transform your soggy kindling and stubborn embers into a roaring campfire that actually stays lit all night long.
Imagine this: you’re at your campsite as darkness falls, shivering while fumbling with damp matches and watching smoke billow from a pile of barely glowing embers. You’ve gathered plenty of wood, but your “fire” won’t catch or stay lit. Sound familiar? The difference between a frustrating evening and a cozy night under the stars often comes down to mastering a few key techniques that most campers overlook.
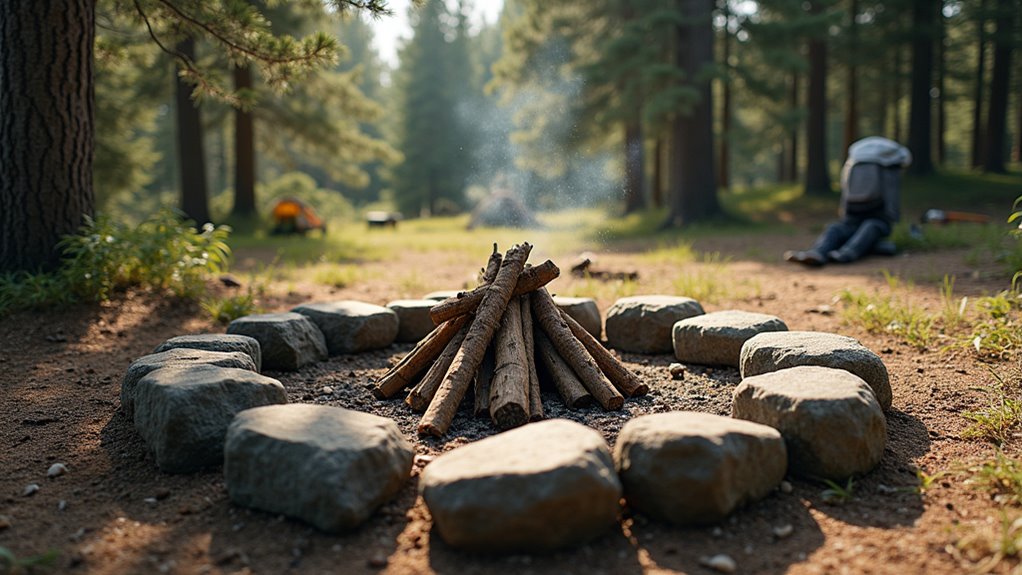
Before you strike your first match, you’ll need to scout out the perfect spot for your campfire. Look for level ground that’s at least ten feet away from tents, trees, and dry vegetation. Avoid areas with overhanging branches or steep slopes where sparks could spread.
Once you’ve found your spot, clear a circle about ten feet wide of all flammable materials like leaves, grass, and twigs. Dig a shallow pit about six inches deep, or use an existing fire ring if available.
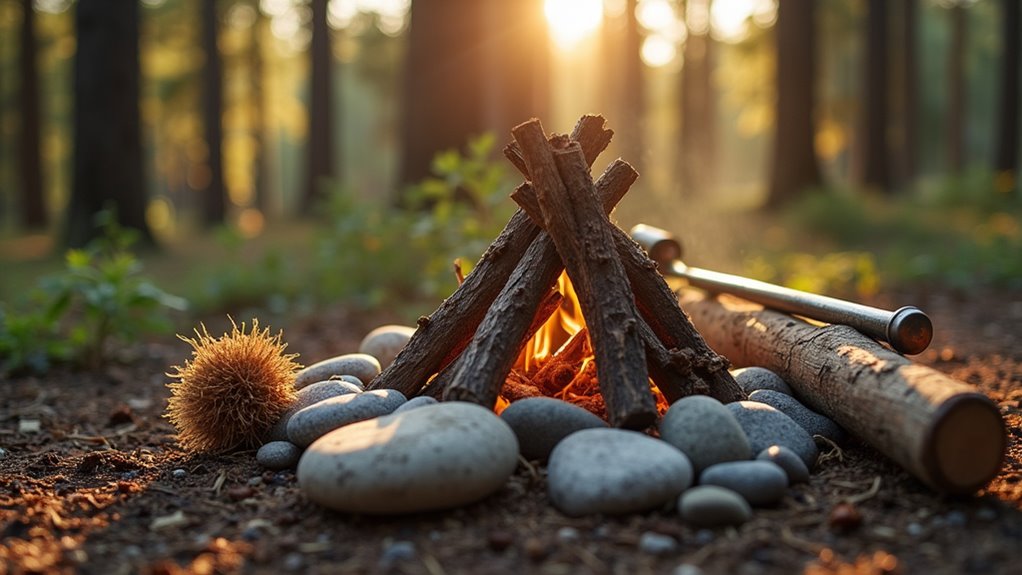
Circle the pit with rocks to contain your fire, but avoid river rocks since they can explode when heated.
Keep a bucket of water or dirt nearby for emergencies. This preparation isn’t just smart—it’s essential for everyone’s safety. Plus, consider the wind direction when positioning your fire pit, as smoke can attract bugs and mosquitoes that may disrupt your camping experience.
Now that you’ve prepared your fire pit, it’s time to collect the three essential materials that’ll make or break your campfire: tinder, kindling, and fuel wood.
Tinder ignites first and burns quickly. Look for dry grass, birch bark, pine needles, or paper. It should catch fire from a single match or spark.
Kindling comes next—pencil-thick to thumb-thick dry twigs and small branches. These catch fire from your tinder and burn long enough to ignite larger wood.
Fuel wood maintains your fire. Collect arm-thick branches and logs, ensuring they’re completely dry. Dead wood that snaps cleanly works best.
Gather plenty of each type before lighting anything. You’ll need more than you think, and collecting materials in darkness is frustrating and potentially dangerous.
Whether you’re planning a cozy evening at your campsite or preparing for an epic Andes adventure, having the right fire materials collected beforehand ensures you’ll stay warm and safe throughout the night.
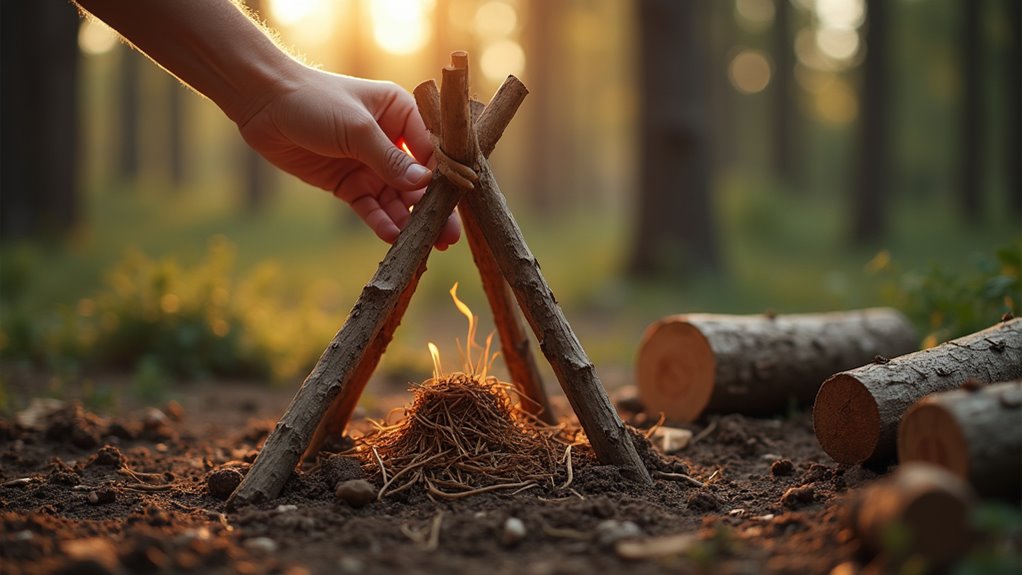
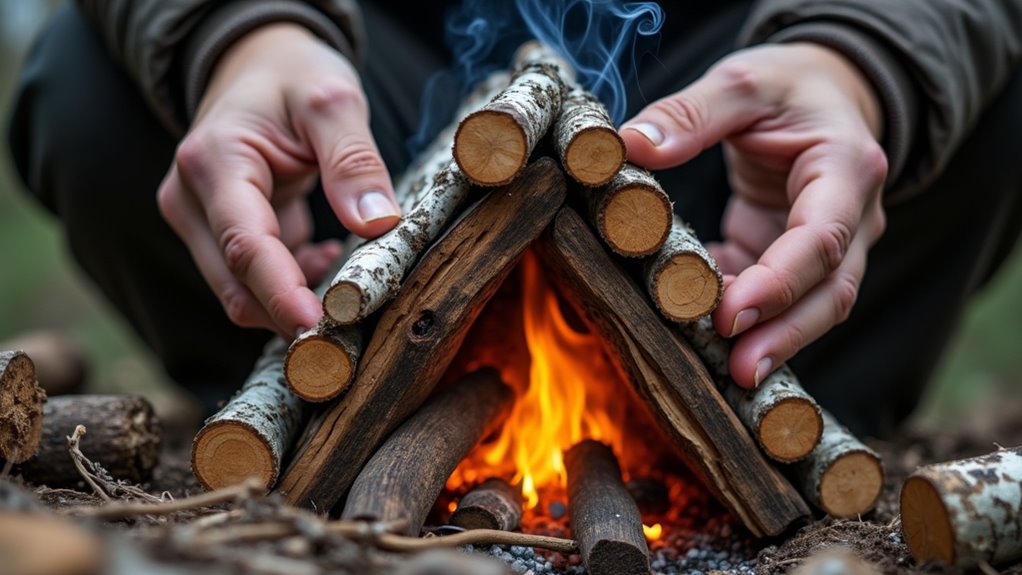
With your materials sorted and ready, you’ll arrange them into a teepee structure that creates the airflow your fire needs to thrive. Start by placing your tinder bundle in the center of your fire pit.
Surround it with a small circle of pencil-thin kindling, leaving gaps between each piece for air circulation. Build upward at a slight angle, creating a cone shape that resembles a teepee.
Next, add medium-sized kindling around the outside, maintaining those essential air gaps.
Finally, lean your larger fuel wood pieces against the structure, keeping the same teepee pattern. Don’t pack materials too tightly—oxygen is essential for combustion.
This method allows flames to travel upward naturally while drawing fresh air through the base, ensuring your fire catches and burns efficiently. Whether you’re camping locally or exploring destinations across the UK, mastering this fire-building technique will help you make the most of your travel budget by reducing reliance on expensive heating alternatives.
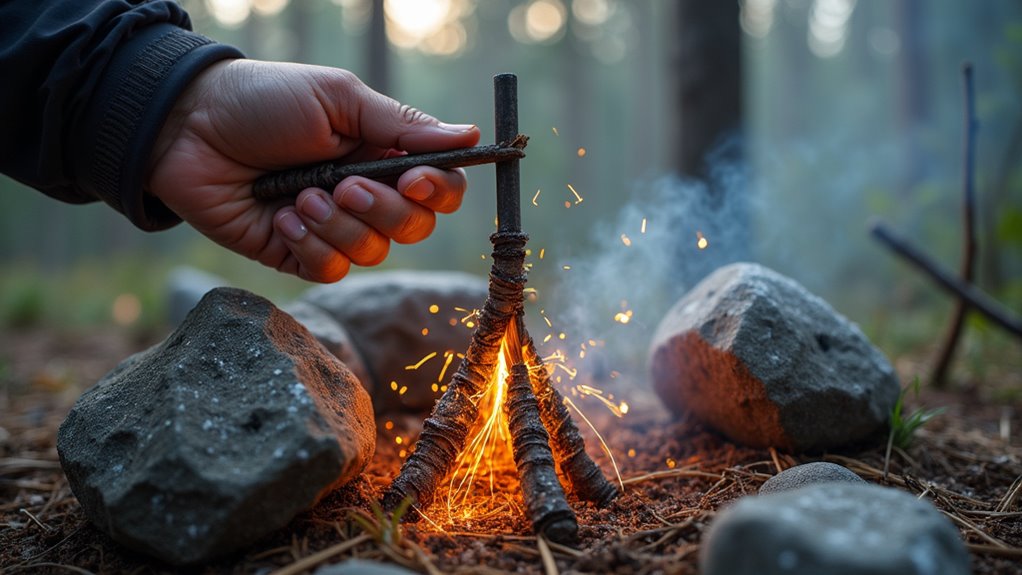
Once you’ve built your teepee structure, you’ll need to ignite it with the right materials and technique. Start with quality tinder like dry birch bark, paper, or commercial fire starters placed at your structure’s center. Light the tinder and let it catch completely before adding anything else.
Next, add pencil-thin kindling gradually. Don’t dump it all at once—you’ll smother the flame. Feed small twigs one at a time, maintaining airflow between pieces. As flames grow stronger, introduce slightly thicker material.
Patience is essential here. Resist the urge to add large fuel too quickly. Each size should be burning well before you move to the next. This methodical approach creates a sustainable fire that’ll burn reliably for hours. Remember to keep a water bottle nearby for safety and to maintain proper hydration while tending to your campfire.
Weather conditions can make or break your fire-starting efforts, so you’ll need different strategies for wet, windy, and cold environments.
In wet conditions, seek shelter under overhangs or create a windbreak with tarps. Use dry inner bark from dead trees and split wood to access dry interior fibers.
For windy situations, build your fire in a natural depression or behind rocks that block gusts. Light tinder on the downwind side and keep extra kindling close.
Cold weather requires patience—your hands’ll work slower, and materials may be brittle. Pre-warm tinder in your jacket pocket and gather extra fuel before starting.
Keep backup fire-starting methods like waterproof matches or lighters readily available regardless of conditions. Consider carrying a multi-tool with LED lighting to help you see clearly when gathering materials or building fires in low-light conditions.
Having the right fire-starting tools helps, but nature provides excellent tinder and kindling materials that’ll get your campfire going without store-bought supplies. Look for birch bark, which peels off in papery strips and catches fire easily even when damp.
Pine needles and dry grass make fantastic tinder bundles. Collect fatwood from pine stumps – this resin-rich wood ignites quickly and burns hot. Cedar bark can be shredded into fibrous tinder that lights with just a spark.
Dry leaves, especially oak and maple, work well for kindling. Gather pencil-thin twigs from dead branches low on trees, as they’re usually drier than ground materials. Always collect more than you think you’ll need, and test materials by seeing if they break with a crisp snap.
Once your fire is established, you’ll have better visibility for evening activities like checking your rock climbing gear before tomorrow’s adventure.
After you’ve gathered your natural tinder and kindling, building a fire structure that allows air to circulate freely becomes your next vital step. Stack your kindling in a loose teepee or log cabin formation, leaving gaps between pieces. Don’t pack materials too tightly—fire needs oxygen to breathe.
Position yourself on the downwind side when lighting your fire, so natural breezes help rather than hinder the flames. If there’s no wind, gently blow at the base of your tinder once it catches. Create a steady, controlled airflow rather than sharp puffs that might scatter your materials.
As your fire grows, continue adding fuel gradually while maintaining those essential air gaps. Remember, more space between logs means better circulation and stronger flames. Just like deciding whether to rent or buy equipment for outdoor activities, consider if you’ll be camping frequently enough to justify purchasing your own fire-starting tools versus renting camping gear for occasional trips.
Even when conditions aren’t ideal, you can still coax flames from damp wood with the right techniques. Start by splitting wet logs to expose the drier interior wood. The outer bark holds moisture, but the core’s often surprisingly dry. Create wood shavings and thin kindling from these inner sections – they’ll catch fire much easier than thick, damp pieces.
Build your fire with extra tinder and use birch bark or fatwood if available. These natural fire-starters burn hot and help dry surrounding wood. Place damp logs near your fire to pre-dry them before adding to the flames. Stack wood loosely to maximize airflow, and don’t rush the process. Patience wins with wet wood – feed your fire gradually as it gains strength.
When camping in Canada’s ice fishing regions, mastering wet wood techniques becomes especially crucial as winter conditions often leave firewood damp or frozen.
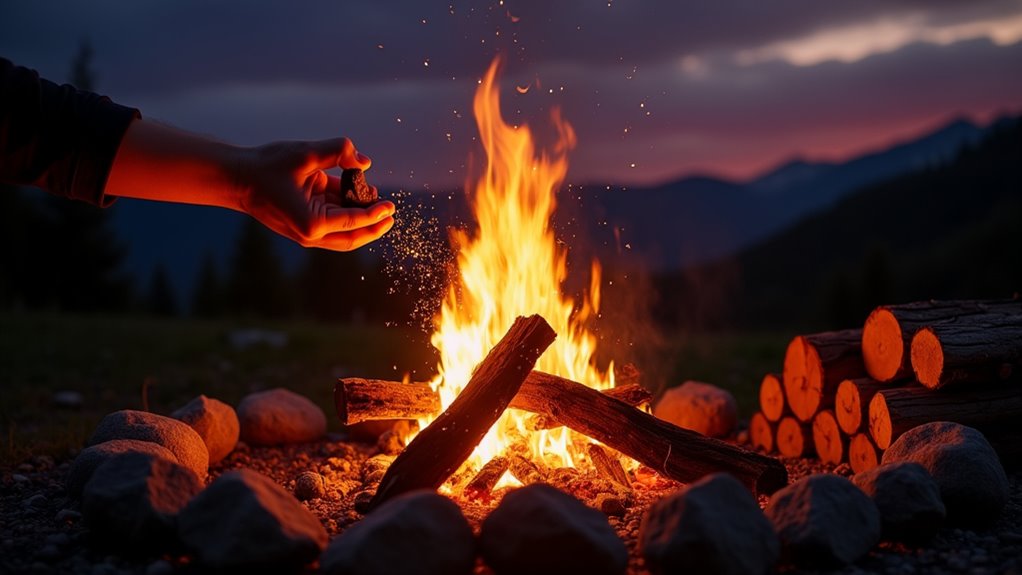
Once your fire’s burning steadily, you’ll need to keep it going strong for hours of warmth and light. Add fuel gradually – don’t smother the flames with too much wood at once. Place new logs at angles to create airflow, typically in a teepee or log cabin formation.
Feed your fire before it gets too low. When flames die down to glowing coals, that’s your cue to add more kindling and small wood first, then larger pieces once they catch. Keep different sized fuel nearby – tinder, kindling, and various log sizes.
Rotate logs occasionally with a poker or stick to ensure even burning. If your fire starts smoking heavily, spread the logs apart for better oxygen flow. Always keep water or dirt handy for emergencies.
Remember that maintaining a safe campfire requires constant attention and following proper safety protocols throughout your outdoor adventure.
When you’re ready to call it a night, properly extinguishing your campfire isn’t just good practice – it’s vital for preventing wildfires and protecting the environment.
Start by allowing the wood to burn completely down to ash.
Let the flames die naturally and wood burn down completely before beginning the extinguishing process.
Pour water slowly over the entire fire area, including the edges where embers might be hiding. You’ll hear that satisfying hiss as steam rises from the doused flames.
Stir the wet ashes with a shovel or stick, breaking apart any remaining chunks of wood or coals.
Key steps to ensure complete extinguishment:
Following proper campfire safety protocols ensures you’ll have a memorable camping experience while protecting the wilderness for future generations.
You’ll master campfire lighting with practice, just like Sarah did on her first solo camping trip. After three failed attempts using soggy newspaper, she switched to birch bark tinder and built a proper teepee structure. Her fire caught immediately and burned strong all night. Remember, it’s all about preparation and patience. Don’t rush the process, keep your materials dry, and you’ll be roasting marshmallows before you know it.