Physical Address
304 North Cardinal St.
Dorchester Center, MA 02124
Physical Address
304 North Cardinal St.
Dorchester Center, MA 02124
Knowing these 9 proven campfire techniques could save your next outdoor adventure when weather conditions turn against you.
When you’re exploring Europe’s diverse landscapes—from Scotland’s windswept highlands to Norway’s dense forests—you’ll quickly discover that one campfire method won’t work everywhere. What lights easily on a calm evening in the Black Forest might fail miserably during a blustery night in the Pyrenees. You need different techniques for different conditions, and mastering just a few strategic approaches can mean the difference between a cozy evening and a frustrating struggle with wet kindling and stubborn flames.
When you’re starting your first campfire, the teepee method remains the most reliable technique you’ll encounter across European campsites. You’ll begin by creating a small nest of dry tinder—birch bark works brilliantly in Scandinavian forests, while pine needles excel in Mediterranean regions.
Next, you’ll arrange kindling in a cone shape around your tinder, leaving gaps for airflow. Start with pencil-thin twigs, then progress to thumb-sized pieces. Don’t pack them too tightly; oxygen circulation is vital.
Once your structure’s ready, light the tinder from multiple points. As flames catch the kindling, gradually add larger fuel, maintaining the teepee shape. The structure will eventually collapse inward, creating excellent coals for cooking or warmth throughout your European camping adventure.
Remember that proper fire safety practices are crucial throughout this entire process to prevent accidents and protect the surrounding environment.
While the teepee method serves you well for quick fires, the log cabin structure offers superior stability and longer burn times—perfect for those extended evenings at Alpine refuges or coastal campsites.
You’ll build this by laying two logs parallel, then placing two more perpendicular on top, creating a square foundation. Continue stacking logs in alternating directions, like building with Lincoln Logs.
Place your tinder bundle in the centre square, surrounded by kindling arranged vertically. The gaps between logs create excellent airflow channels, feeding oxygen throughout the structure.
Light from the top, allowing flames to work downward through the kindling to larger wood.
This method burns steadily for hours, making it ideal for cooking traditional European campfire meals or warming your Scandinavian shelter through chilly mountain nights. Just as you might consider whether to rent or buy a boat for fishing adventures, building the right fire structure depends on your specific camping needs and duration.
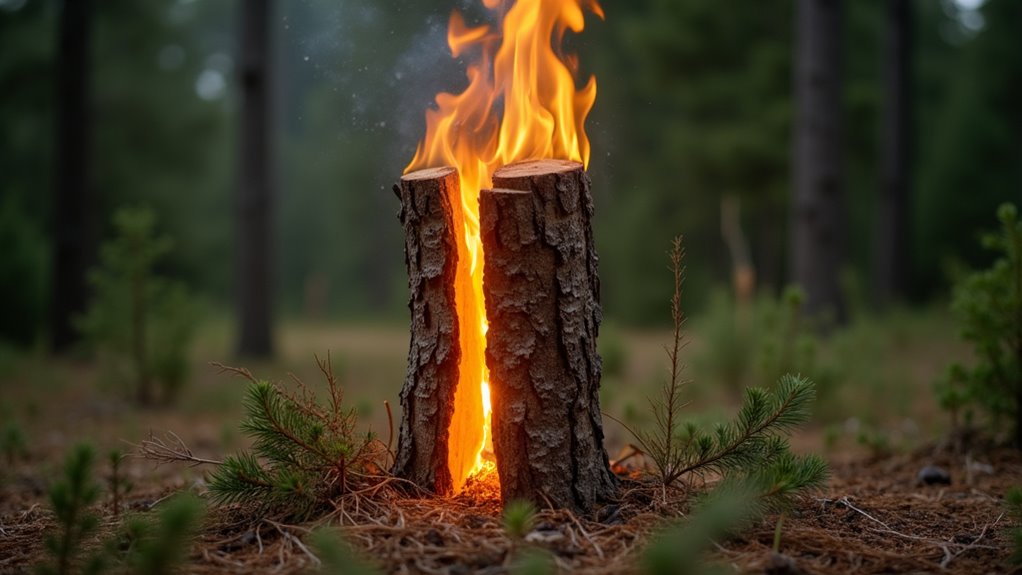
One ingenious technique transforms a single log into a self-contained cooking platform and heat source that’ll serve you brilliantly during Nordic wilderness adventures or alpine hikes.
You’ll need a thick log, preferably birch or pine, measuring at least 30cm in diameter. Make vertical cuts three-quarters down the log’s length, creating six to eight sections like slicing a pie. Leave the bottom quarter intact as your base.
Stuff tinder and kindling between the cuts, then light from the top. The log burns inward whilst maintaining structural integrity, creating natural air channels that feed the flames.
You can place pots directly on top for cooking. This Swedish method burns for hours, requires minimal maintenance, and works exceptionally well in snow. This technique is particularly valuable for share economy camping enthusiasts who want to minimize equipment whilst maximizing functionality.
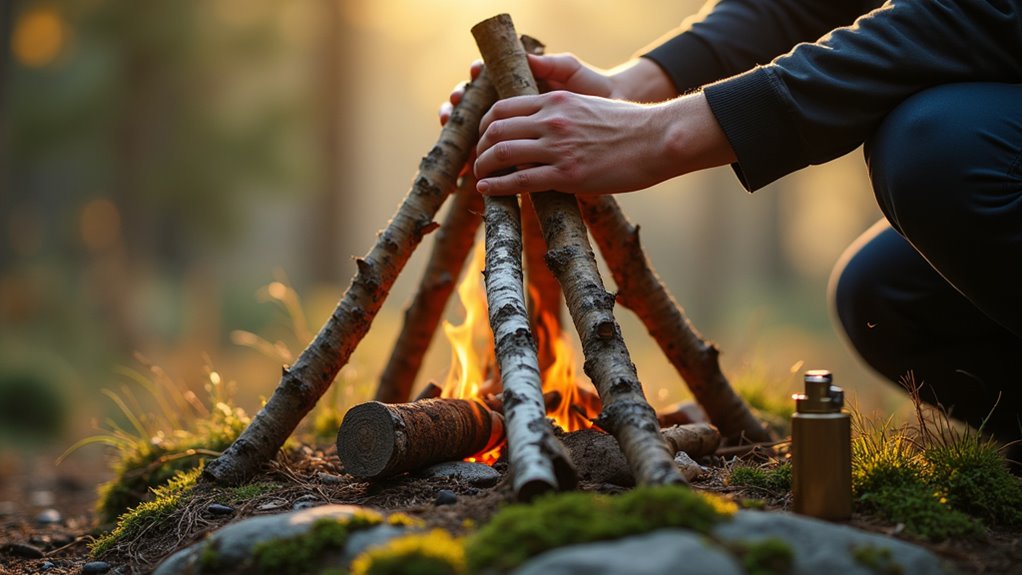
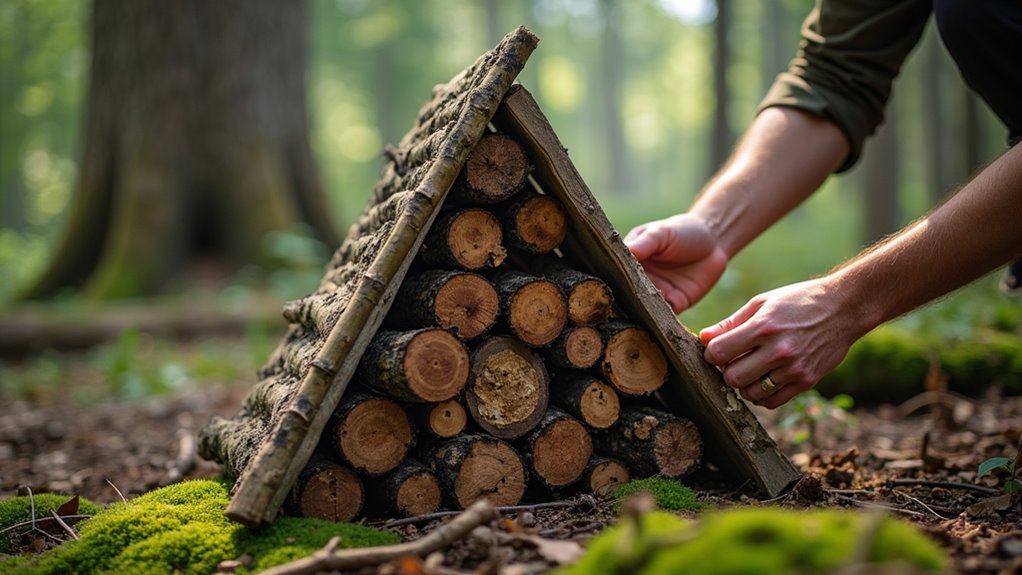
Unlike the Swedish torch’s vertical design, the lean-to method mimics nature’s own shelter structure to create one of the most dependable fire-building techniques you’ll master across European forests.
The lean-to fire method transforms fallen branches into nature’s most reliable flame, mimicking the forest’s own architectural wisdom.
You’ll start by placing a substantial log as your foundation—think fallen beech or oak branches common throughout Germanic woodlands. Next, gather finger-thick kindling and lean it against your foundation log at a 45-degree angle, creating a natural windbreak.
Light your tinder bundle beneath the lean-to structure. The angled design channels oxygen upward while the foundation log reflects heat back, creating efficient combustion that’ll withstand those unpredictable Alpine breezes.
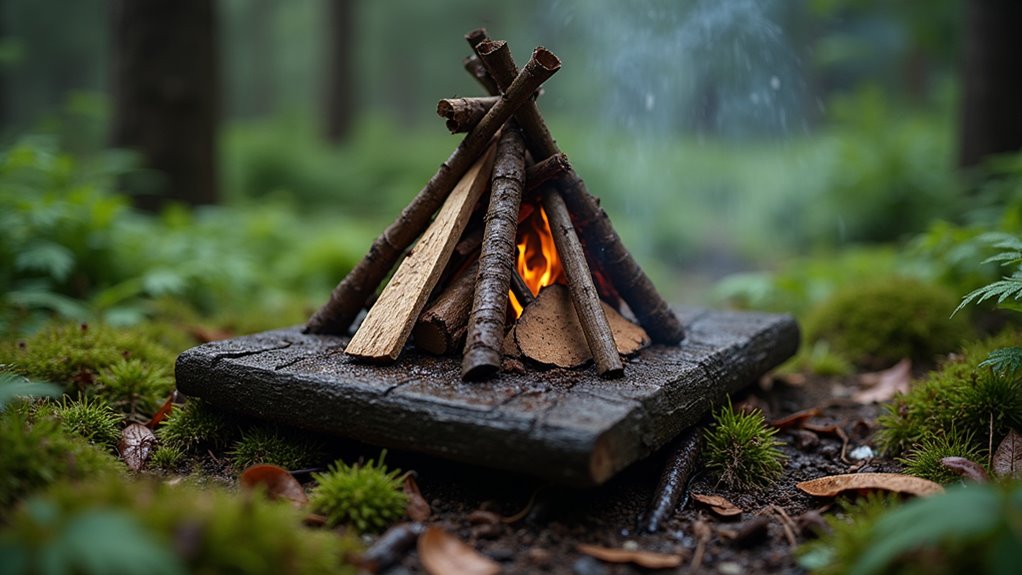
When rain-soaked ground threatens to extinguish your fire before it starts, the platform method becomes your reliable solution across Europe’s notoriously damp landscapes. You’ll build an elevated foundation using thick, green logs laid parallel to each other. These logs create vital airflow underneath while preventing moisture from seeping upward into your fire.
Stack smaller dry wood perpendicular across your platform base, creating multiple layers. This cross-hatched pattern ensures proper ventilation. Place your tinder bundle on top, followed by kindling arranged in a loose teepee formation.
The platform’s elevation protects against Scotland’s soggy moors or Scandinavia’s perpetually wet forests. You’re fundamentally creating a wooden table that keeps your fire alive despite challenging conditions. This method proves invaluable when standard ground-level techniques fail completely.
Having an essential survival kit on hand can provide backup fire-starting materials if your initial attempts struggle in these challenging wet conditions.
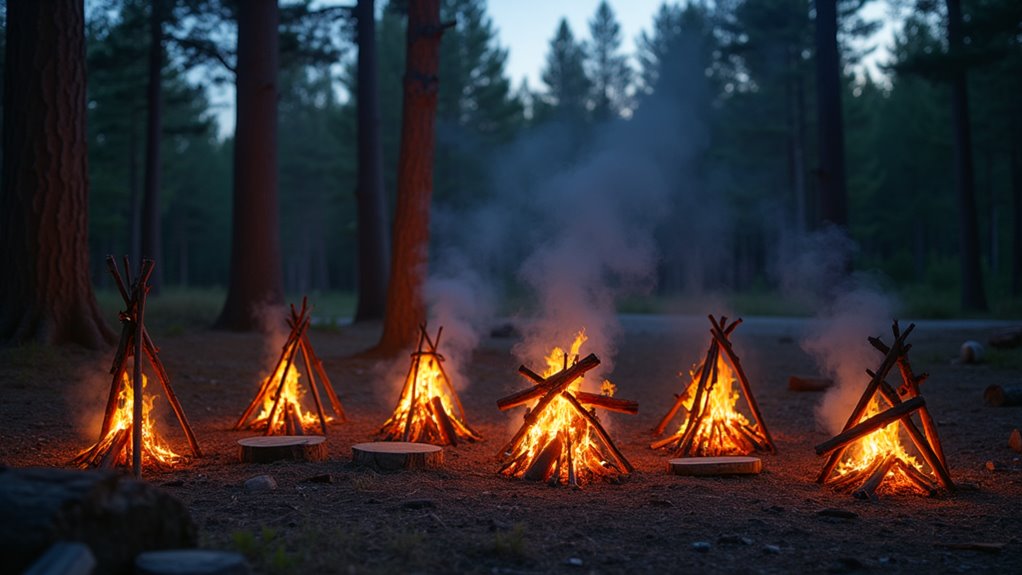
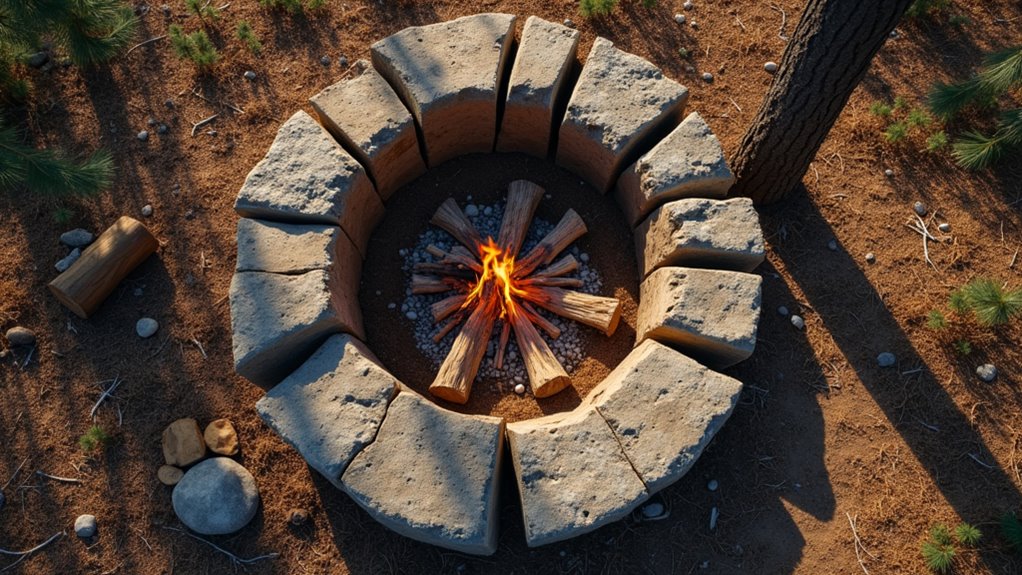
As darkness falls across remote Alpine meadows or northern Finnish wilderness, the star fire configuration offers you maximum control over heat output and fuel consumption. This ancient technique involves arranging five to eight logs like spokes radiating from a central hub where you’ll build your initial fire.
You’ll push logs inward as they burn, creating a self-feeding system that’s particularly valuable during long Scandinavian nights or multi-day Scottish Highland treks. The star pattern burns slowly and efficiently, making it perfect when firewood’s scarce.
Whether you’re exploring the rugged landscapes of the UK or venturing into remote wilderness areas, mastering this technique helps you stretch your travel budget by reducing reliance on expensive camping fuels.
Key advantages of star fire configuration:
Why do experienced bushcrafters across the Scottish Highlands and Norwegian forests consistently choose the pyramid fire stack for their base camps? You’ll find it’s the most reliable method for creating sustained heat and steady flames in challenging conditions.
Start by laying three to four thick logs parallel as your foundation. Stack progressively smaller logs perpendicular to each layer, creating a square pyramid structure.
Foundation logs create the base—stack smaller wood perpendicular to each layer, building your square pyramid structure methodically.
Place your tinder bundle at the pyramid’s center, surrounded by pencil-thin kindling arranged in a small tepee formation.
Light the tinder from multiple sides for even ignition. As flames catch the kindling, they’ll naturally spread upward through your carefully constructed layers.
The pyramid design ensures excellent airflow while providing a stable fuel supply that’ll burn steadily for hours without constant attention.
While the pyramid method builds from bottom to top, the upside-down fire flips this concept entirely — and it’s become a favourite among European outdoor enthusiasts for good reason.
You’ll place your largest logs at the bottom, then layer progressively smaller wood on top, finishing with kindling and tinder at the very peak.
This Scandinavian-inspired technique burns downward, creating exceptional heat distribution and requiring minimal maintenance — perfect for those long Nordic nights.
Here’s your building sequence:
The fire burns steadily downward, collapsing into perfect coals without constant tending.
This method works exceptionally well for self-contained camping adventures where you want maximum fire efficiency with minimal effort.
What happens when you need both a roaring fire for warmth and controlled coals for cooking? You’ll want the keyhole fire layout. This European-favoured method creates two distinct fire zones in one setup.
Dig a keyhole-shaped depression in the ground – a large circle connected to a smaller channel. Build your main fire in the circular area using standard techniques.
The channel becomes your cooking zone where you’ll rake hot coals from the main fire.
This layout’s brilliant because you’re maintaining the primary fire for heat and light whilst having dedicated cooking capability that won’t overheat your food. It’s particularly useful for extended camping trips where you need consistent cooking capability.
The design also provides excellent wind protection for both zones. The keyhole fire layout is perfect for those seeking outdoor adventures that combine practical campfire skills with memorable experiences.
You’ve mastered nine fire-building techniques, but here’s the catch—you won’t know which one truly works until you’re crouched in a damp European forest at dusk, wind picking up, and your matches dwindling. Will you choose the reliable teepee or risk the upside-down method? Your choice determines whether you’ll warm your hands over dancing flames or shiver in darkness. The moment of truth arrives when nature tests everything you’ve learned.