Physical Address
304 North Cardinal St.
Dorchester Center, MA 02124
Physical Address
304 North Cardinal St.
Dorchester Center, MA 02124
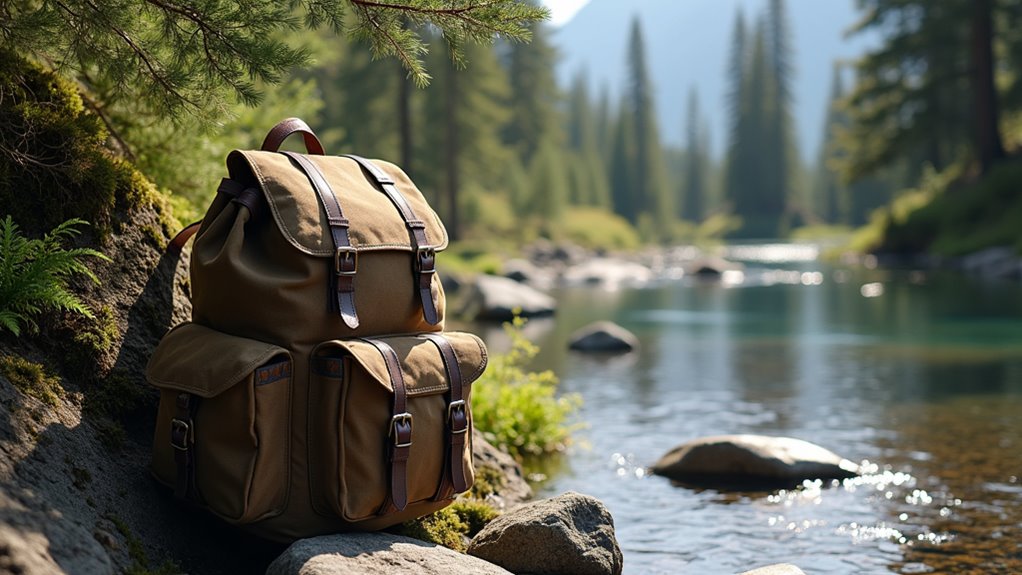
Knowing which outdoor backpack to choose could mean the difference between an epic adventure and a complete disaster—but most people make this crucial mistake.
You’ve probably had one of those “learning experiences” where you ventured outdoors only to realize your gear situation wasn’t quite sorted. Whether you’re planning a simple day hike or a weekend camping trip, your backpack becomes your lifeline in the wilderness. It’s not just about having any bag—it’s about choosing the right one and packing it smartly without breaking your budget. The difference between a great adventure and a miserable trek often comes down to what’s on your back.
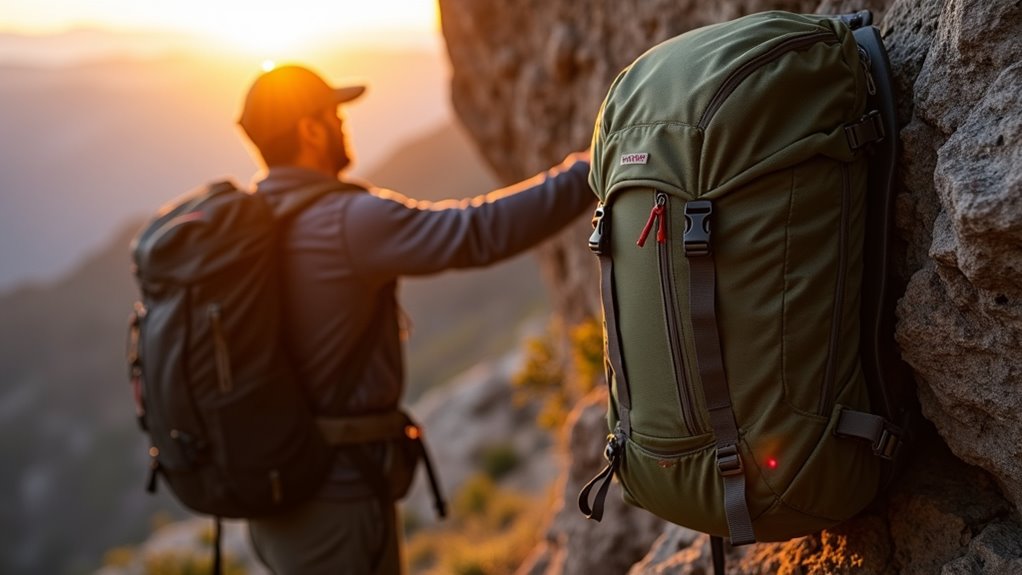
When you’re shopping for an outdoor backpack, don’t get overwhelmed by flashy marketing claims or expensive bells and whistles. Focus on what actually matters for your adventures.
First, you’ll need proper capacity. Day hikes require 20-30 liters, while multi-day trips need 40-70 liters. Don’t buy bigger than necessary—you’ll just carry extra weight.
Look for adjustable shoulder straps and a padded hip belt that transfers weight to your hips, not your shoulders. Your back will thank you after mile ten.
Check for multiple compartments and external attachment points. You want easy access to water, snacks, and gear without unpacking everything.
Finally, verify it’s made from durable, water-resistant material. Cheap backpacks fall apart when you need them most.
If you’re planning ambitious treks like Mount Kilimanjaro, investing in a quality backpack becomes even more critical for your success and safety.
Even the best backpack becomes a torture device if it doesn’t fit your body properly. You’ll need to measure your torso length from your C7 vertebra to your iliac crest – don’t worry, most outdoor stores will help you do this for free.
The hip belt should sit snugly on your hip bones, not your waist, carrying 80% of the weight.
Here’s what you should check:
Don’t rush this process – spend time adjusting every strap before hitting the trail. Consider investing in one of the unique travel backpacks available today that offer innovative features and designs specifically engineered for optimal comfort and functionality.
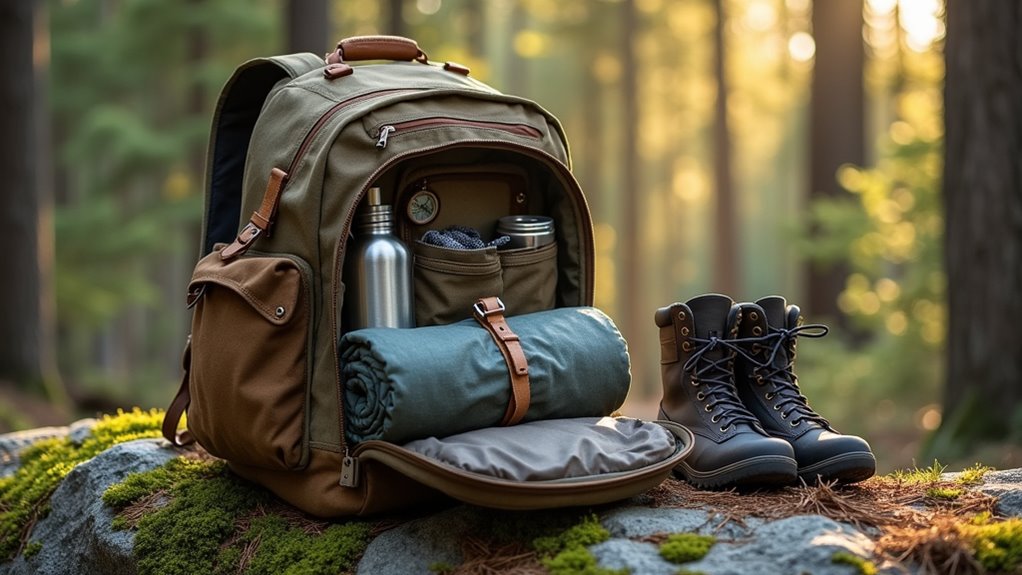
Once you’ve got your backpack properly fitted, you’ll need to fill it with the right gear – and what you pack depends entirely on whether you’re heading out for a few hours or several days.
For day hikes, stick to essentials: water, snacks, first aid kit, map, headlamp, and weather protection. Don’t overpack – you’re not moving in permanently.
Multi-day camping trips require more gear. Add a lightweight tent, sleeping bag, cooking equipment, and extra clothing layers. Focus on multipurpose items that save weight and space.
Smart packing means checking weather forecasts and trail conditions beforehand. You’ll avoid carrying unnecessary gear while ensuring you’ve got what’s actually needed.
Many of these same principles apply when loading a cycling backpack, where weight distribution and essential items remain key considerations.
Start with basic, budget-friendly equipment and upgrade gradually as you gain experience.
While proper gear selection matters, how you pack that gear can make or break your outdoor experience. You’ll quickly learn that stuffing everything randomly into your backpack creates unnecessary headaches on the trail.
Smart packing doesn’t require expensive gear – just thoughtful organization. Heavy items belong close to your back and centered between your shoulder blades. Don’t bury essentials like your headlamp or first aid kit at the bottom where you can’t reach them.
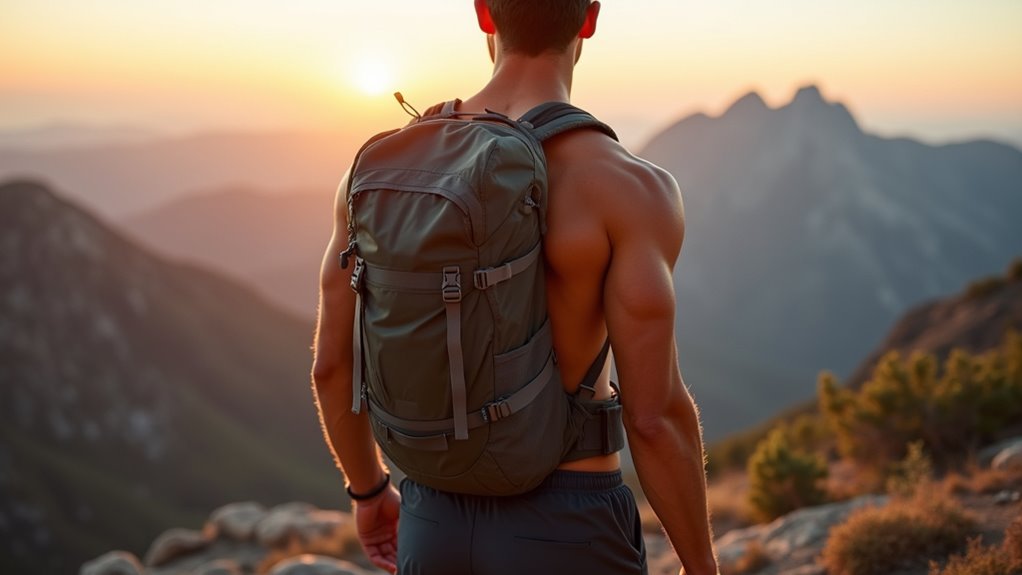
Proper weight distribution transforms your backpack from a burden into a balanced extension of your body. You’ll want to place your heaviest items close to your back and centered between your shoulder blades. This keeps the weight over your center of gravity, reducing strain on your shoulders and preventing that dreaded backward pull.
Pack medium-weight gear in the middle compartments, and stuff lighter items like sleeping bags at the bottom. Don’t forget to balance left and right sides equally – an uneven load creates uncomfortable pressure points and throws off your stride.
Keep frequently needed items in external pockets for easy access without disturbing your carefully arranged weight distribution. Whether you’re heading out for a one day trip or an extended adventure, this smart packing approach prevents fatigue and keeps you comfortable throughout your journey.
Since your backpack endures everything from muddy trails to desert dust, regular maintenance becomes essential for extending its lifespan and protecting your investment. You don’t need expensive products or complicated procedures to keep your pack performing like new.
After each trip, empty all compartments and shake out debris. Spot-clean stains immediately with mild soap and water. For deeper cleaning, hand-wash with gentle detergent, then air-dry completely before storing. Never machine-wash or use harsh chemicals that’ll damage waterproof coatings.
When you’re choosing between a $50 budget pack and a $300 premium model, the decision isn’t just about your wallet—it’s about understanding what you actually need for your adventures.
Budget packs work perfectly for day hikes and casual outings. They’ll carry your essentials without breaking the bank, though you might sacrifice advanced features like specialized compartments or ultra-lightweight materials.
Premium backpacks shine during multi-day treks or extreme conditions. You’re paying for superior durability, weather resistance, ergonomic design, and lifetime warranties. These investments make sense if you’re hitting the trails regularly or tackling challenging terrain.
Consider your hiking frequency and intensity. Weekend warriors often find mid-range options ($100-150) hit the sweet spot, offering decent quality without premium pricing. Match your spending to your actual usage, not your aspirations.
Remember that selecting the perfect camping backpack requires careful consideration of your specific outdoor activities and personal requirements.
Regardless of whether you choose budget or premium gear, your backpack becomes your lifeline when things go wrong on the trail. Smart hikers always carry these essential emergency items that won’t break the bank but could save your life.
For winter backcountry adventures, an avalanche transceiver should be added to your emergency arsenal along with proper training on its use.
Don’t skimp on these basics. Even day hikers need emergency supplies because weather changes quickly and injuries happen unexpectedly.
Your preparation determines whether minor setbacks become major disasters.
You’ll find that 90% of search and rescue incidents involve hikers who weren’t properly prepared with essential gear. Don’t become part of that statistic – your backpack’s your lifeline out there. Whether you’re investing in a budget-friendly starter pack or splurging on premium features, what matters most is that you’re carrying the right items and know how to use them. Pack smart, stay safe, and you’ll create memories that’ll last a lifetime.